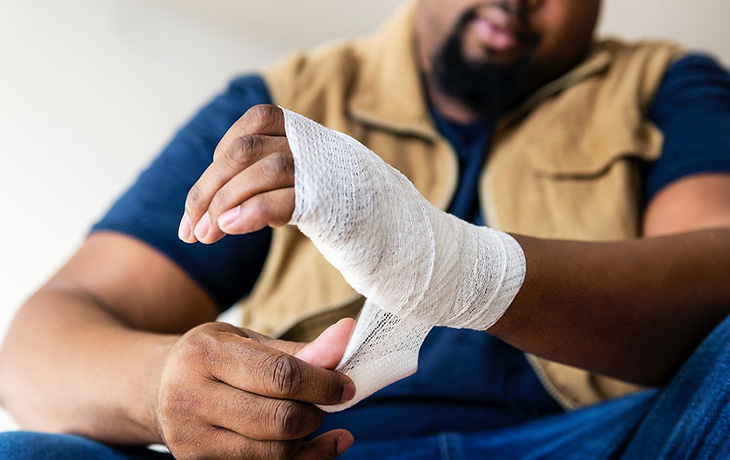
It’s necessary to dress and bandage a wound in order to protect it from contamination during the healing process while keeping the right balance of moisture by absorbing excess drainage.
Dressing and bandaging are two different but closely related concepts. A dressing goes directly against the wound to absorb excess fluids (called exudate) and prevent foreign debris from getting inside after you’ve already cleaned it. The purpose of bandaging is to protect and hold the dressing in place.
Some products, such as the standard Band-Aid, are a hybrid. The white gauze pad is the dressing and the tan adhesive strip is the bandage.
Dressing and bandaging is one step in the overall process:
- Get bleeding under control (use a tourniquet if it’s serious)
- Clean the wound
- If it makes sense, close the wound (sutures, staples, etc.)
- Dress and bandage
Use your head. Get professional help if you can.
The Prepared teaches survival medicine: what to do in emergencies when you can’t depend on normal help or supplies. How to make decisions, steps to take, gear to use… there’s a huge difference in the right answers between daily life and a survival situation.
You agree not to hold us responsible if you choose to do something stupid anyway.
Want more free guides from medical and survival experts delivered straight to your inbox?
We dig into different types of off-the-shelf products and DIY methods below. But the basic tips of how to dress and bandage a wound apply to every scenario.
Because one of the most important parts of the healing process is to prevent more contamination, you should use a proper, sterilized (ideally sealed) dressing. Try not to touch or contaminate the parts that will touch the wound.
In an austere survival situation, anything clean can work in a pinch — for example, you can boil strips of a cut t-shirt or bedding for 20 minutes.
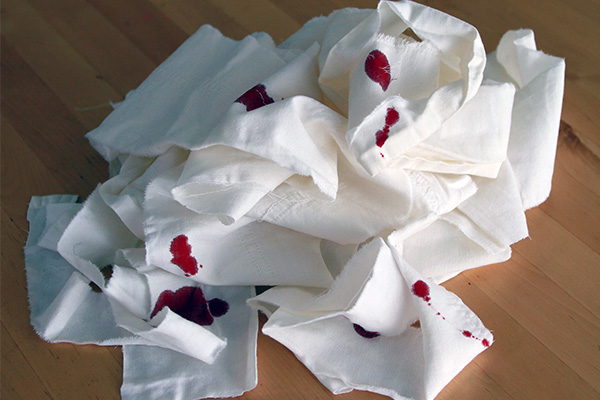
Whatever dressing you use should be slightly larger than the wound itself to create a little overlap. It’s fine to use several dressings to cover a larger injury.
If the dressing is a basic dry material, such as standard gauze or a cloth, you should add a thin layer of white petroleum jelly directly to the materials. The petroleum jelly will help keep the wound moist and prevent the dressing from sticking to the wound or scab.
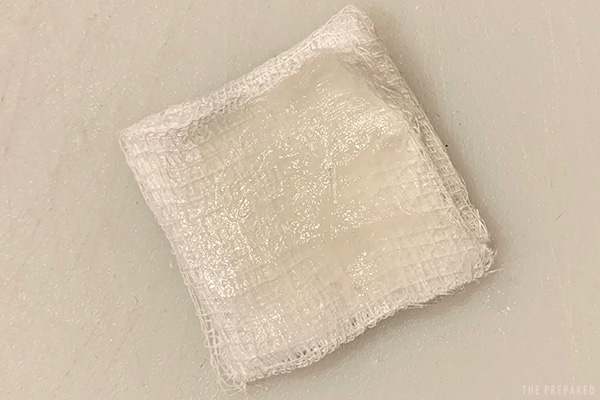
However, studies have shown that adding an antibiotic cream — such as Neosporin or other products that contain Neomycin — doesn’t add any benefit beyond plain petroleum jelly. Worse still, the Neomycin runs the risk of causing an allergic reaction in some patients.
Even in an austere setting, don’t get creative or use homeopathic junk you heard about in a prepper forum. The only natural material that has enough medical evidence behind it is honey (although the official word is “this still needs more research”). Studies show that honey’s natural anti-bacterial, anti-oxidant, and anti-inflammatory qualities sometimes work well as a natural dressing.
Lay the dressing flat over the wound. If you can, use small medical tape around the edges to hold the dressing in that spot as you begin bandaging.
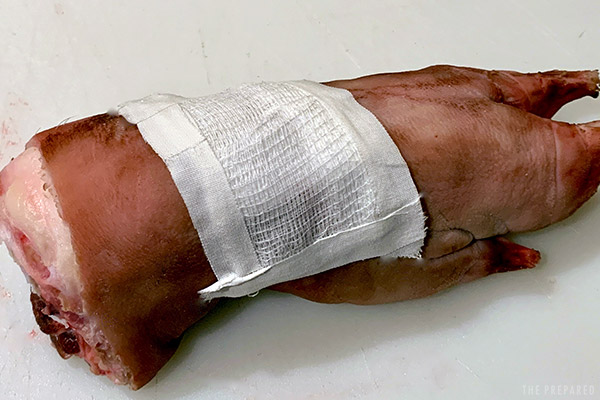
You have more flexibility in picking the bandaging material because it doesn’t directly contact the wound. A bandage can be rolled gauze, elastic, or even plastic saran/cling wrap. It’s helpful if the bandage is stored rolled so that you can easily wrap it around the patient.
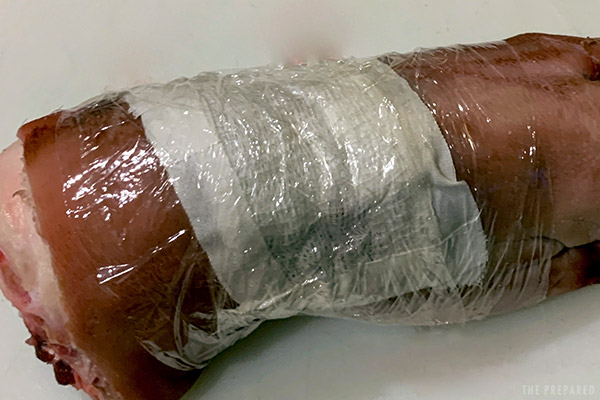
Making the bandage too tight delays healing because blood brings the body’s healing supplies to the wound. Make it just tight enough to keep the dressing protected.
Why you should trust us
Your three guides have 80 years of combined experience teaching or using these skills:
Do wounds heal faster covered or uncovered? Do wounds need air?
Covered wounds heal faster than those exposed to air because research shows a little moisture and warmth creates a better environment for tissue growth.
The extra protection also helps reduce new contamination, meaning you’re not adding more problems after the fact.
Scabs are basically the waste materials of reconstruction, and they impede the healing process by blocking the formation of new tissue where the scab is. So by keeping the area protected and moist, you make it easier for the body to heal. But you should never remove a scab — that will do more harm than good.
Airing out a wound can be helpful when it gets too wet. If you change a dressing and notice there’s too much drainage, or even rain and shower water that’s been absorbed, let the wound air dry a little before applying a new one.
Why tight bandages are counterproductive
The human body wants to heal — your main goal is to let it happen.
Right after the injury, the body enacts a number of processes to begin healing itself. In the first few minutes, the body attempts to minimize bleeding through clotting. Fibrous cells and platelets converge to plug the holes.
In the few hours after injury, the body starts sending in the “construction workers” and materials needed to lay down the foundations for the new tissues. At the same time, defensive cells are sent to fight infection.
Those processes slow down or stop when you choke off blood flow. Even other factors like cold temperatures, diabetes, and smoking can affect the process by crippling how well the body can move nutrients and oxygen to the wound.
If a dressing is soaked with blood, pus, or alien creatures
It’s time to troubleshoot when you notice a saturated dressing. A little spotting is expected, but anything more is a sign that you at least need to replace the dressing.
If you see blood: Dressings aren’t meant to absorb lots of blood — that should happen before dressing and bandaging.
You may have been taught to add clean dressings on top of blood-soaked dressings. The thinking used to be that the new dressings would work in tandem with the soaked ones, aiding the clotting process. But this has been disproven and is no longer taught.
If you see pus: A significant amount of discharge indicates an infection is present, especially if the exudate is colorful. After removing the dressing and any closures, you will need to clean the wound again.
Types of dressings
Band-Aids and other common “plasters” or strip bandages are always a good idea for small wounds. There are also special H-shaped Band-Aids designed to work between fingers, knuckles, and toes.
When treating an injury, you should consider the size and location of the wound in addition to how likely it will drain. Larger wounds and wounds that were contaminated before cleaning are more likely to have drainage.
Non-adherent pads (Telfa dressings)
Non-adherent pads are best for use on wounds that have light drainage.
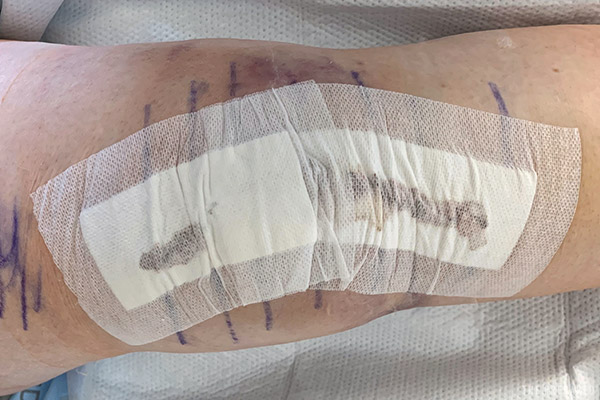
We recommend Telfa dressings for most wounds because they have a cotton core inside a non-stick coating that breathes and absorbs fluids well. They can also be cut down to size or to fit in awkward areas.
Those qualities are why Telfa dressings are very common in hospitals, such as this dressing used after a knee surgery.
Wet dressings
Wet dressings include products like Xeroform and Vaseline Impregnated Gauze. These dressings conform well to contours and help keep the wound moist. Like Telfa dressings, wet dressings do not stick to wounds.
You can make your own wet dressing by thinly and evenly spreading white petroleum jelly on a gauze pad.
Tip: Resist the urge to be a crafty prepper — it’s too difficult to make and store your own wet dressings ahead of time in a way that keeps things sterile during storage.
Hydrogel dressings
Hydrogel dressings are great for surface abrasions and wounds that are dry or dehydrated because they transfer moisture to the wound. You don’t want to use a hydrogel dressing on a wound that is moist or showing signs of fluid discharge.
Hydrogel dressings need to be used with a protective bandage that will help keep them from drying out. Plastic wrap is a good choice.
Hydrocolloid dressings
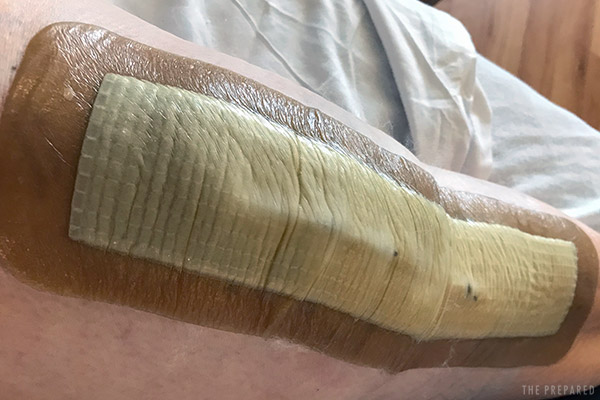
Hydrocolloid dressings, like hydrogel, provide a moist environment to support wound healing.
They are longer lasting than most other types of dressings, yet they’re very flexible and easily molded around body parts that have a lot of motion.
Hydrocolloid dressings also do an excellent job of protecting the wound as they provide an impermeable barrier against bacteria and contamination.
The downside is that you cannot easily see the wound, so checking for infection and drainage is a challenge.
Transparent dressings (Tegaderm)
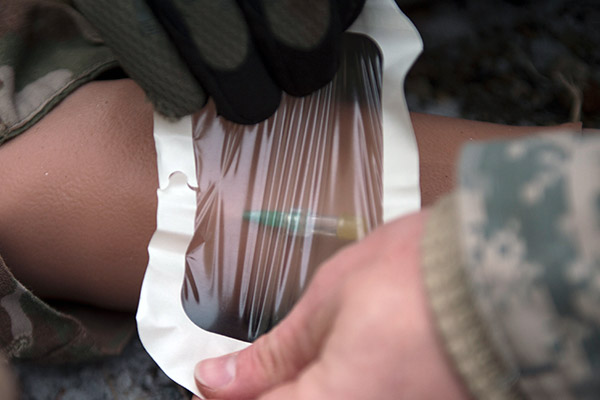
Transparent dressings such as Tegaderm are typically used in hospitals to secure IVs. Although they’re not great at absorbing wound discharge, they do a fine job letting moisture from under the dressing escape while keeping external wetness from coming in — a quality they want for an IV, but don’t want for an open wound.
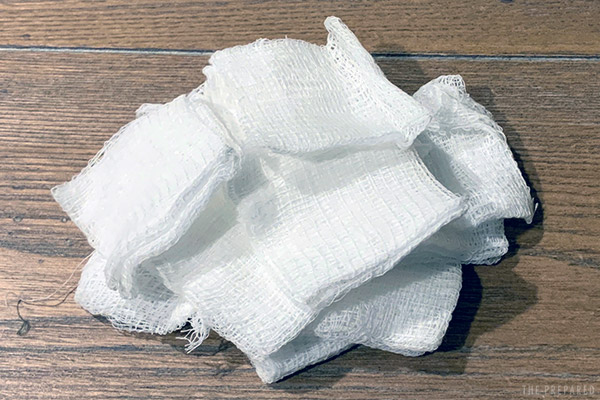
Gauze sponges
Gauze sponges are a popular staple because they’re easy to find, cheap, and simple. But their 100% cotton construction means they will stick to a wound if used dry.
Gauze sponges are very economical, and you can make your own from a gauze roll by cutting off the size you need. They can also be used to create your own wet dressings.
Types of bandages
Plastic wrap
We recommend using plastic wrap in most cases. Plastic wrap is particularly great for preppers because you can find it almost everywhere, it’s versatile, cheap, reusable, washable, won’t stick to wounds, and makes it easy to see the dressing without removing the bandage.
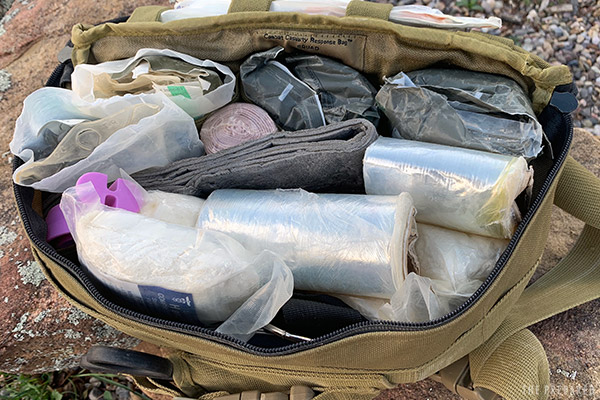
Unlike elastic bandages, it’s difficult to overtighten a plastic wrap bandage, creating a natural ‘backstop’ that might help you during an adrenaline-pumping emergency.
Although plastic wrap can stick to itself, you’ll probably want to anchor the wrap with tape. Medical tape is great, but duct tape and other methods are fine.
A downside to plastic wrap is that it doesn’t breathe very well. So it’s essential to periodically relax the bandaging to air it out and keep moisture from building.
Tip: Buy a standard roll of plastic wrap from your grocery store and cut the roll into convenient sizes. We recommend a four-inch wide and two-inch wide roll.
Elastic bandages
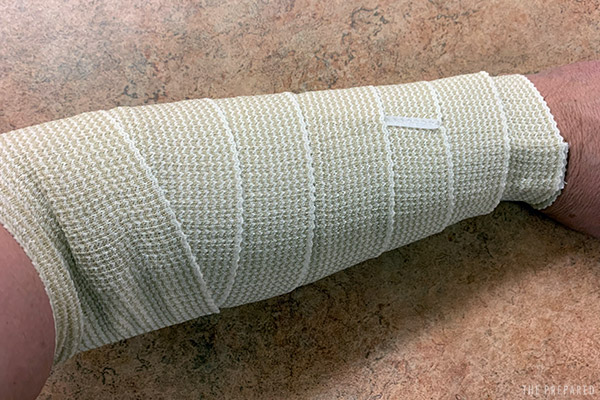
Elastic bandages (commonly referred to as ACE wraps) work well on the extremities because they can wrap neatly around the limb.
It’s best to start wrapping the bandage below the dressing, working your way up towards the heart. Each pass should cover half of the previous wrap.
Do not pull the elastic bandage tight as you are passing around the limb. The point isn’t to create a pressure dressing for hemorrhage control.
Elastic bandages usually come with clips to secure the ends. You can also use tape.
The downside to elastic bandages is that you cannot see the dressing. You will need to visually inspect the dressing several times a day in the first couple of days and once a day after that. If the bandage becomes soaked with fluids, you should change it out for a clean one after resolving the issue.
Tip: Keep your ACE bandages rolled in a way that makes it easy to start the wrap and unroll around the patient.
Rolled gauze
Rolled gauze is a common component in field kits and can be used as both a dressing and bandage by cutting off pieces to fit over the wound as a dressing, leaving the rest to form the bandage.
A gauze roll works well on tricky areas like the head and joints. You use it just like you would an elastic bandage: wrap the gauze around the dressing in overlapping layers, then secure with tape.
The biggest problem with rolled gauze is that it is absorbent and can stick to the dressing (and underlying wound), or can pick up moisture from the environment. It also obscures the dressing and is not easily reused once tainted.
Tip: Just like with elastic bandages, gauze has a “direction” and should easily unroll around the patient while allowing you to maintain control of the unused portion. There is no need to unroll it before use.
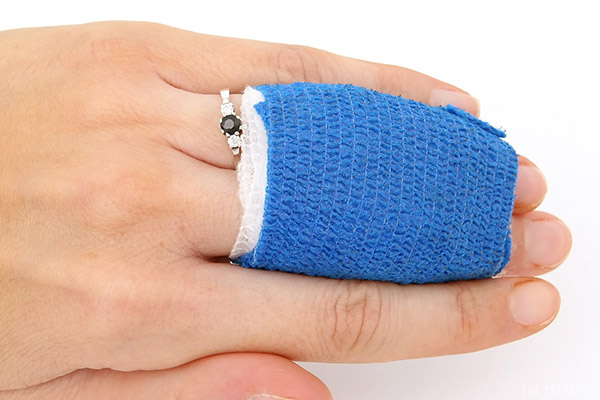
Self-adherent wrap (Coban; vet wrap)
A self-adherent wrap is a slightly-elastic material that coheres (it adheres to itself but not other materials), so you don’t need tape or clips to secure the wrap. Coban is a common name brand.
Coban does not do well in hot environments because the self-adhesion can get messy. It also contains latex, which can trigger an allergy in the patient.
How to stop a bandage from sticking to a wound
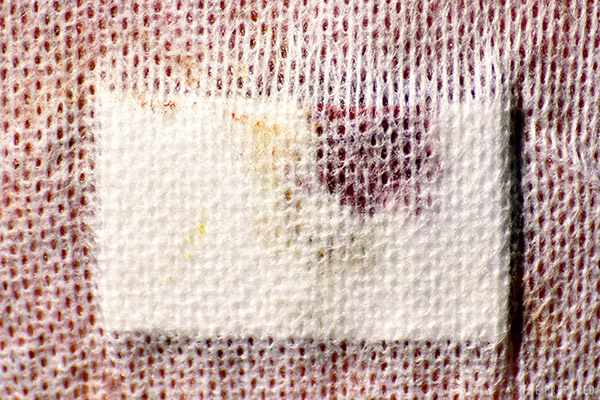
Wounds generally exude blood, pus, and other fun fluids during the healing process. Sometimes the fibers of the bandage or dressing absorb these fluids and create a connection with the wound and scab. Stickiness generally happens with dry cloth dressings on a wound that’s been allowed to dry out.
If a dressing does stick, try running a little clean and warm water over it to break the connection. Or you can gently press something wet and absorbent over the stuck dressing.
It may take a while for this process to work. Never force the dressing to come off, as you don’t want to disrupt the healing process by tearing fresh tissue away with the dressing.
How to bandage around an impalement
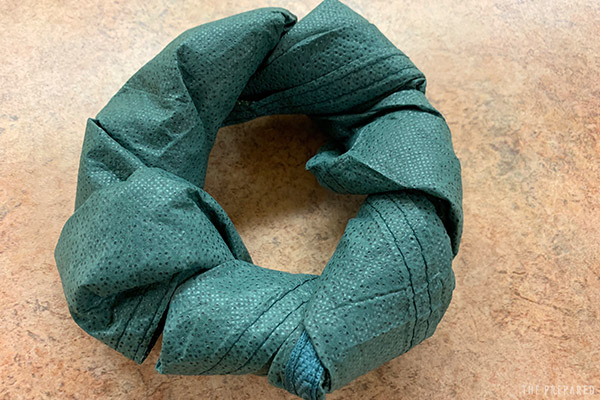
Removing an impalement is part of the wound care and cleaning process before you get to the bandaging step. But if you can’t or shouldn’t remove the impalement, you can dress around it with a “donut” bandage.
Place your dressing around the base of the impalement and then place the donut over top of the dressing. Secure the donut with another bandage, making sure to capture above and below the impalement.
How to make a donut bandage:
- Take a cravat (triangular bandage) and roll it starting with the 90-degree corner.
- Make a loop large enough to loosely fit around the impaled object. You can use your fingers or hand as a model for the size of the impaled object.
- Lace the loose ends around the body of the loop, starting outside and going inside the loop. Repeat this a few times until the donut is snug against the model. Tuck in the loose ends.
- Carefully slide the donut over the impalement.
- Secure the donut with another bandage wrapping around the bolstered sides.
