We recently discussed steps to localize your supply chain. One of those steps is buying hardy, well-made hand tools that will last decades and don’t require fuel.
The more you can take care of those tools on your own, the less you’ll be dependent on the external supply chain for replacements or repairs. That includes keeping them clean, sharp, and free of rust.
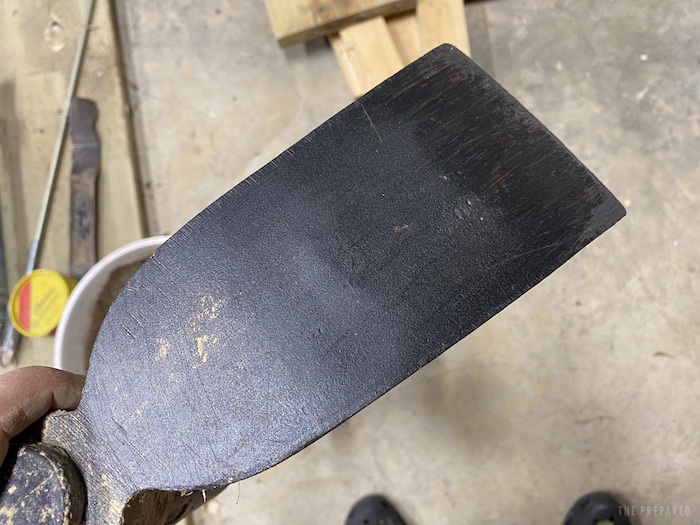
There’s an easy and cheap old-school way to handle cleaning, rust prevention, and even sharpening in one go. All you need is sand, oil, and a bucket. Here’s a before and after of old rusty tin snips after just one treatment:

More: Check out the best knife-sharpening and maintenance course on the internet
Summary:
- Use construction sand or a similarly coarse sand
- Traditionally, used motor oil is added to the sand, but mineral oil is safer and won’t go rancid
- Don’t add too much oil to the sand or it’ll get too thick
- It’s best to add sand and oil in layers so the oil is evenly incorporated
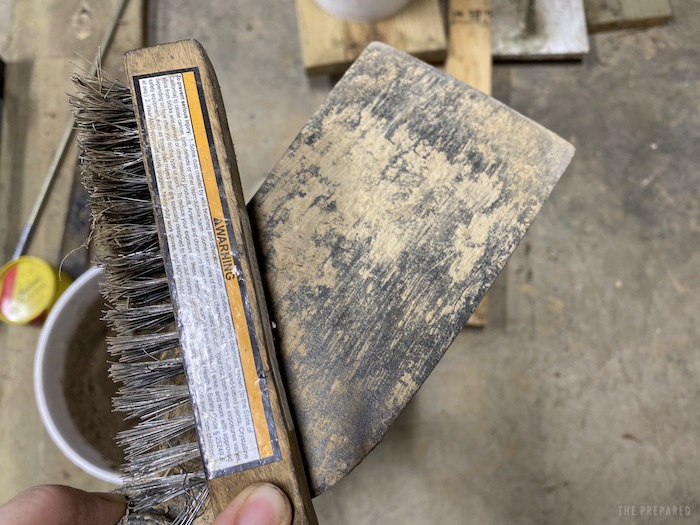
- Use a wire brush to scrub off excess dirt and then plunge the tool in the bucket until it’s clean and lightly oiled
I first read about the idea in Steve Solomon’s Gardening When It Counts, an essential book for any aspiring survival gardener, with a wealth of knowledge about choosing and maintaining garden tools:
In the old days, there was usually a wooden box on the floor of the garden shed filled with coarse sand. The sand was saturated with used crankcase oil. When the garden tools were put away for the day, their working ends were first wirebrushed clean and then stuck into that sand so they came out lightly coated with oil.
It’s a pretty simple concept. The abrasive sand scrapes the dirt and rust off the metal and the oil lightly coats the metal to prevent additional rust (similar to gun oil).
First, you need a container. The old-time method is a wooden box, but most people these days use five-gallon buckets, which are cheap, don’t take up too much space, and are large enough to accommodate most tool heads. However, wide tools like rakes can be a challenge. At some point I’d like to build a big sandbox to accommodate those large tools, but for now a bucket will suffice.
More: Never too many buckets: Ten uses for my favorite tool
Next, you need sand. Not just any sand will do. Play sand, like you’d put in a children’s sandbox, isn’t abrasive enough. You want a bag of construction sand, which you can pick up cheap at the local home construction store.
You can try harvesting free sand from a nearby body of water, but know you’ll need a lot of it.
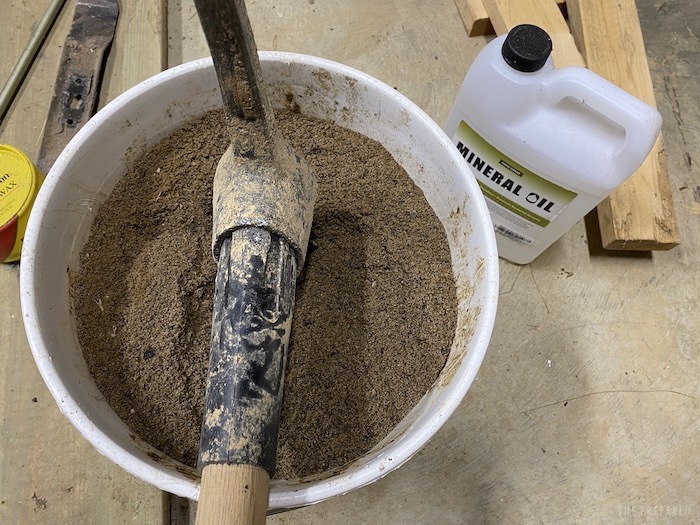
Finally, you need oil, but what kind of oil? Old-timers used old motor oil. That might be fine, since you use a pretty small amount of oil, but used motor oil has carcinogens and other nasties I don’t particularly want in my mostly organic vegetable beds. Some use old cooking oil, which is also fine, but will go rancid and may smell. I opted for mineral oil, which is non-toxic and won’t go rancid, but is unfortunately not free.
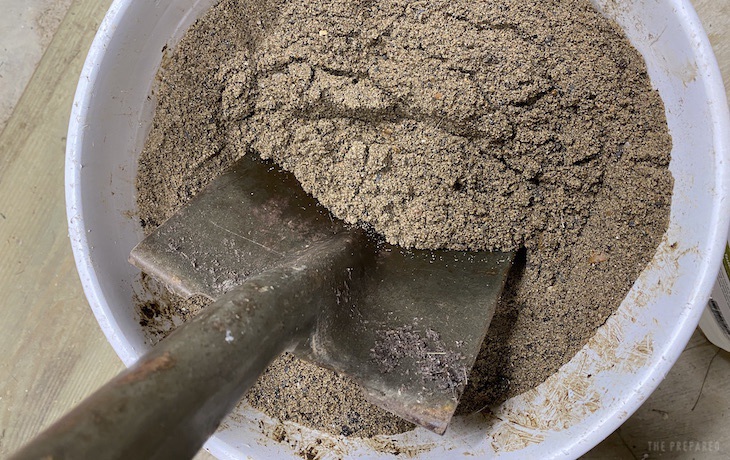
Once you have your sand and oil, you need to mix it in the bucket. This can be trickier than you expect, since the sand is heavy, and the oil acts as a thickener. I screwed up my first batch by pouring entirely too much oil in and not mixing it well, which led to the bottom essentially turning into concrete.
Here’s the method I recommend:
- Fill half of the five gallon bucket with sand.
- Add about a cup of oil. Pour it out slowly and try to cover all the top surface of sand.
- Give it about an hour or so to sink in.
- Stir the bottom half with a heavy tool, like a digging bar or a heavy hoe.
- Fill the second half with sand and add another cup of oil as before.
- After an hour or so, stir up the mixture again.
When you plunge the tool into the sand, you’re looking for two things:
- There will be some resistance, but it shouldn’t take much effort to plunge the tool into the sand and move it around.
- When you pull the tool out, the submerged surface should have a light coat of oil.
If both are true, you’re done! If you don’t feel any oil on the tool, you can always mix in a little more. Remember: you can always add more oil but you can’t pour it back out.
Here’s how to use the bucket to clean tools:
- When you’re done using the tool, spray or wipe off as much dirt and debris as possible before putting it in the bucket. No point making your job harder (and the bucket more contaminated) by leaving on the easy-to-remove stuff.

- Use a wire brush to scrub off caked-on dirt.
- Plunge the business end of the tool into the sand. You’ll probably have to step on shovels to get them as deep as possible. For hoes, use a chopping motion just as you would in the ground.
- Move the tool up and down and back and forth in the sand.
- Pull the tool out, beat it against the side of the bucket to knock off the sand.
- Wipe off excess sand if you wish.

Here are a few important things to keep in mind:
- This is a quick maintenance step. It’ll remove dirt and surface rust, but it’s not going to undo years of neglect.
- You can store garden tools in the bucket, business end down, to keep them free of rust.
- The sand can be a little messy, and it will scratch up glass, like phone screens or eyeglasses. Rinse it off with clean water instead of trying to rub or brush it off.
- If your tool has a smooth, shiny surface, the sand will scratch it up. I don’t put my hori-hori knife in it, for instance.
- If your tool has a painted surface, the sand will wear away the paint. This isn’t a big deal on a heavily used work surface, like a shovel blade, where the paint will get worn off anyway, but I wouldn’t plunge a scythe blade into it, since all but the cutting edge is protected by the finish.
You are reporting the comment """ by on