Lightweight and cheap hand saw for your bug out bag
In a forum post that I can’t seem to find now, a member shared the World’s Lightest Backpacking Saw. Coming in at only 3.95 oz (112g) this minimalist collapsible saw would be a great addition to throw in a bug out bag. However, this commercial product is no longer being made. So if I wanted one, I was going to have to make one myself.
I am going to share two designs that I came up with so this type of saw will be accessible to those on a tight budget with no tools to work with or if you want some additional features, you can take it to the next level. Video of completed product at the end of this post.
Design #1 – Cheap, quick, and minimal.
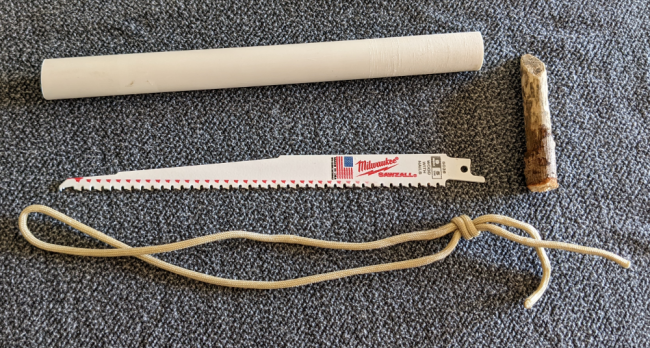
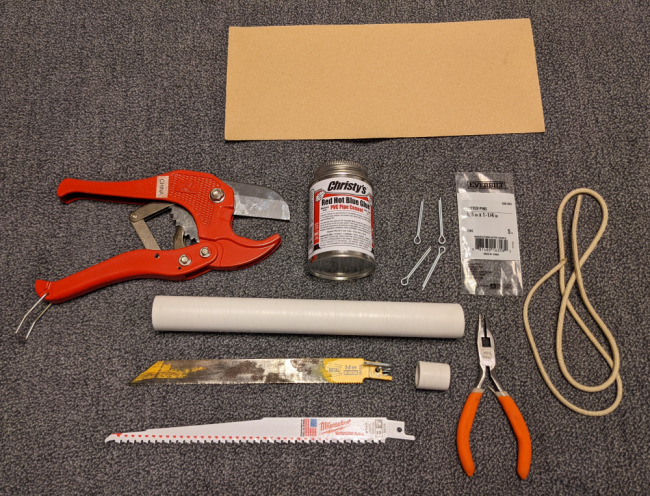
For this first model, you will need to get a 9” or 12” sawzall blade from the hardware store ($4-$8), a 9.25” long ½” diameter PVC pipe ($3) (they can help you cut it at the hardware store or you can use your saw blade), a piece of paracord, and a small stick the length and diameter of your finger.
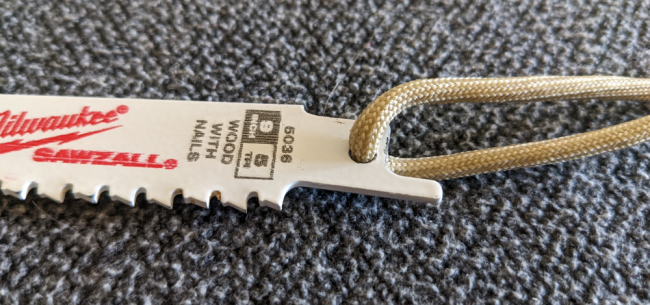
This is really easy. Thread the paracord through the hole in the saw blade, stick the paracord through the pipe, tie a knot at the end, thread the stick through the hole of the paracord knot and twist until the blade is firm in there.
That’s it!
Design #2 – Slightly more expensive, requires more tools, but has more features
This design does require a bit more work, but is far superior in my opinion. One of the things I didn’t like about the commercial product and Design #1 is that you had to store your blade next to the handle and it had potential for cutting up other gear in your pack. I wanted a larger diameter tube in Design #2 to be more comfortable in the hand, and offer a storage space for the saw blade inside.
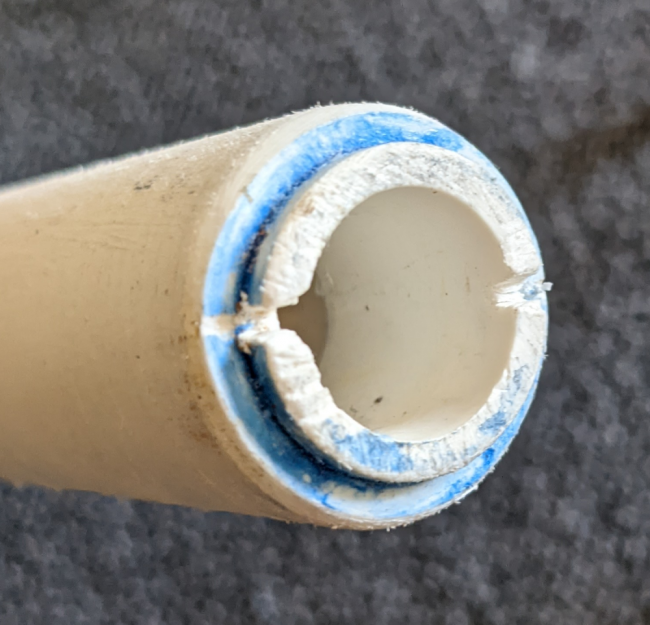
With the larger diameter tube however, the saw blade would just slip through. To fix this, take a ½ inch diameter 1” long piece of PVC pipe, sanding down the outside until it fits snuggly inside the ¾” pipe, and apply some PVC glue to keep it secure. By doing this, it creates the necessary diameter for the saw to sit in while still maintaining the ability to store the saw inside the handle. An additional modification that I did with Design #2 is to cut slits in the ½ inch pipe so that the blade has a secure slot to sit in and won’t spin around when you are tightening down the rope.
You can just stick with threading the paracord through the hole in the blade, or go with the cotter pin attachment that the commercial version uses. I don’t really see the benefit of the cotter pin besides being able to remove the rope without having to untie the knot, or maybe distributing the tension between two points instead of one. I probably wouldn’t bother buying the cotter pins again, but if you want to I’ll show you how to bend and use them.
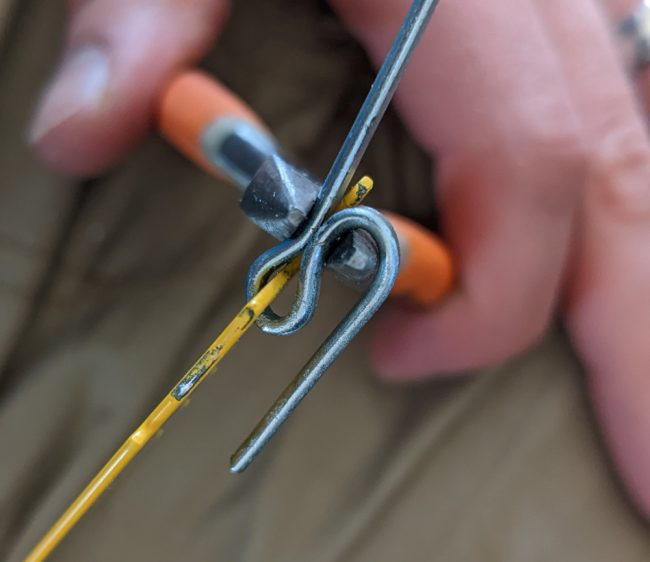
Get some ⅛” X 1” cotter pins ($1.25/pack of 5) in the nail and screw aisle of the hardware store, thread it through the hole of the saw blade, pinch slightly up on the cotter pin with some pliers and bend the legs of the cotter pin over the pliers teeth.
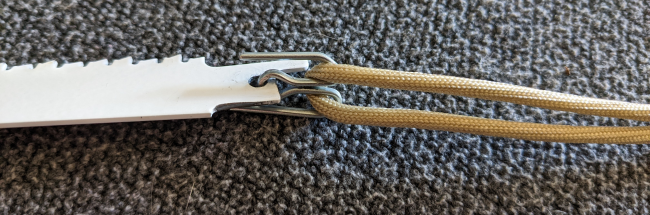
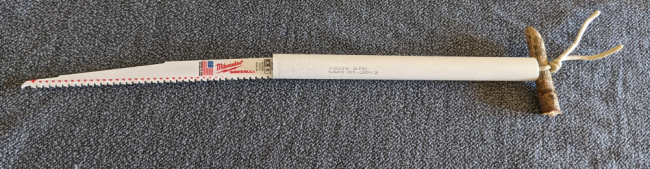
The finished product will look like this.
Another modification I made with Design #2 is to sand little ridges in the base to lock in the stick better than a smooth surface. The commercial product gets around doing this by just really cranking the line until it won’t move and holding the stick while you saw, but I like the grooves better. You can recreate this by wrapping a pencil in sand paper and running it back and forth over the end of the pipe.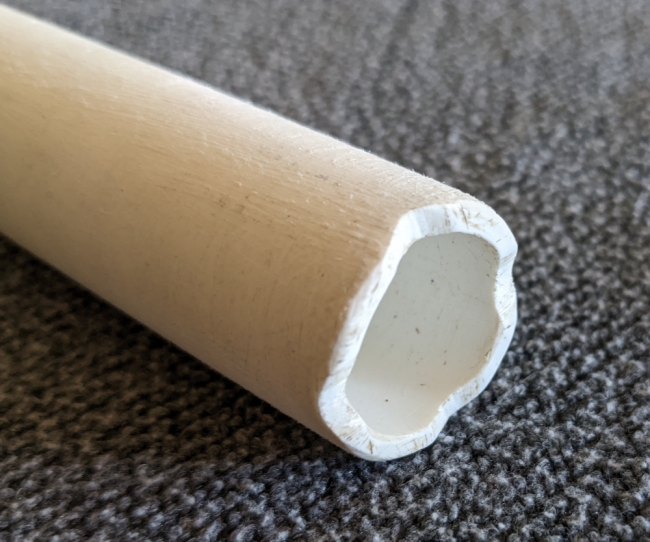
Comparing the DIY version with the commercial product.
To be honest, I like the PVC pipe version much more than the commercial product because of the low cost, and additional features.
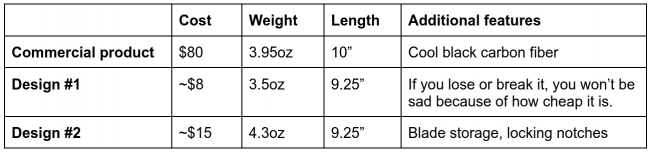
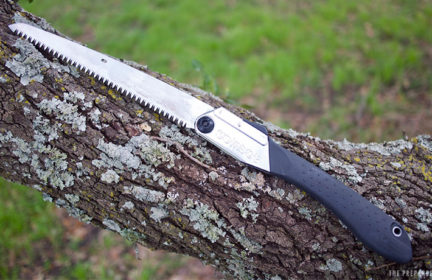
Comparing Design #2 to the top recommended hand saw in The Prepared’s Best survival handsaw article, the Silky Gomboy costs and weighs three times as much and doesn’t have cheap easily replaceable blades.
The commercial product uses a better rope called Zing-it that is lighter weight, stronger, and doesn’t have any stretch. I couldn’t find Zing-it anywhere cheaper than $27 for a roll and the paracord works perfectly for me, so I am sticking with that.
For $1 more, I could have gone with the superior saw blade that the commercial product uses, the Diablo carbide teeth blades. The reason I went with the Milwaukee blade is because that fits inside the ¾” PVC whereas the Diablo blade was just slightly too wide. In the future, I would like to get the Diablo blade and grind down the wide spine so that it will fit inside the handle. The commercial product also went with a long 12” blade which is much faster at cutting with its longer draw length, but for this compact version I stuck with a 9” blade. Here’s a short video showing what the Diablo blade can do compared to a similar sized Fiskers saw.
There is enough room inside the handle of Design #2 where you could have both a wood and metal saw blade. Perhaps you have this in your bug out bag and use the wood blade to cut firewood or build a shelter with, and the metal blade could be used to cut a chain link fence or padlock if you are stuck somewhere and need to get through during SHTF.
Video of completed Design #2
-
Comments (16)
-