It’s fall here in the northern hemisphere, and not only are the leaves falling from the trees, but dead sticks and branches as well. You can use those to improve your gardens and reduce your dependency on the supply chain.
Leaves make incredible mulch. Will Bonsall, author of Will Bonsall’s Essential Guide to Radical, Self-Reliant Gardening, sings their praises:
If our goal is adequate nitrogen contained in lots of humus, tree leaves are hard to beat. Moreover, there is so much more to tilth than nitrogen. For example, if we compare a mineral analysis of ash from leaves with one of ash from manure, leaves contain twice the levels of minerals, especially those trace minerals that must be pumped up from the depths of the earth where the glacier deposited them. If we wish to take our cue from natural systems, notice that trees first, then grasses, are what run the show; animal droppings are quite incidental.
Leaves can help add valuable minerals to your vegetables without having to buy expensive amendments.
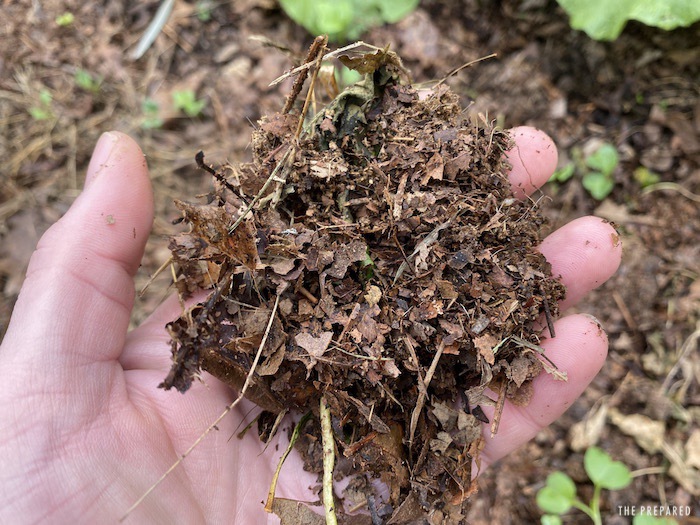
But the problem is that whole leaves mat together when they get wet and turn into an impenetrable sheet over your soil. I’ll tell you how to use a string trimmer to shred those into a fine mulch that will feed your garden beds.
One possibility for sticks and branches is using them in the base of a garden bed, as in hügelkultur. But that’s only really practical when you’re establishing a bed. You could mulch them into wood chips for mulch, but that takes an expensive chipping machine, and if SHTF, you may not be able to get gas to run one. The low-tech solution is to turn that woody debris into biochar, which can enrich and nourish even the poorest soils.
Check out my beginner’s guide to survival gardening, which covers the basics of soil nutrition, mulching, and hügelkultur.
Summary:
- To mulch leaves, put dry leaves in a trash can and shred them with a string trimmer / weed eater.
- Biochar is a fancy name for charcoal. It’s been used since ancient times to enrich soil.
- Make biochar by burning wood and smothering it before it burns to ash.
- Biochar absorbs nutrients, so it needs to be charged with nitrogen before adding it to your garden.
- An easy and free way to charge biochar is to soak it in urine.
Making mulch from leaves
It’s important to keep your garden beds covered with something over winter to protect your soil from erosion. That could be a cover crop, a tarp, or mulch.
I’ve become a big fan of mulch. Maybe when you hear “mulch,” you think of those bags of colored wood chips you buy at big box stores, but any organic material is suitable for mulch. Common mulch materials are shredded leaves, hay, straw, and grass clippings. However, be careful of where you source mulch so that it’s not contaminated by aminopyralid, which can kill your garden. The best source for mulch is your own yard.
Mulch does three important things in your garden:
- Protects the soil from the sun so it doesn’t lose nutrients
- Retains moisture so you don’t have to water as often
- As it breaks down, it builds more soil and releases nutrients and minerals
Mulching is like composting at a smaller scale, except directly in your garden beds.
A testament to the power of mulch: recently I scythed grass and weeds around some of my fruit and nut trees and piled up the cuttings around them. I went to check on them a few weeks later and the mulched trees had grown significantly while the unmulched trees had hardly grown at all. It really does make a difference.
To shred leaves, you need two things: a string trimmer and a spare trash can. Leaf debris whirls around as you shred it, so safety glasses would also be a good idea. Or you could cut a notch in the lid of the trash can so you can put the string trimmer inside while keeping the can covered.
Wait for a day when the leaves are good and dry. Gather them up and put them in your trash can until it’s almost full. Then you just stick the string trimmer in the trash can and run it to shred the leaves. Stop now and again to reach into the can and mix up the leaves so you make sure you shred them all. You want the resulting leaves to be very small and almost powdery, with very few whole leaves.
It doesn’t take long to do this, so fuel usage is minimal. A one-gallon can of pre-mixed string trimmer fuel could sustain my leaf-shredding operation for years.
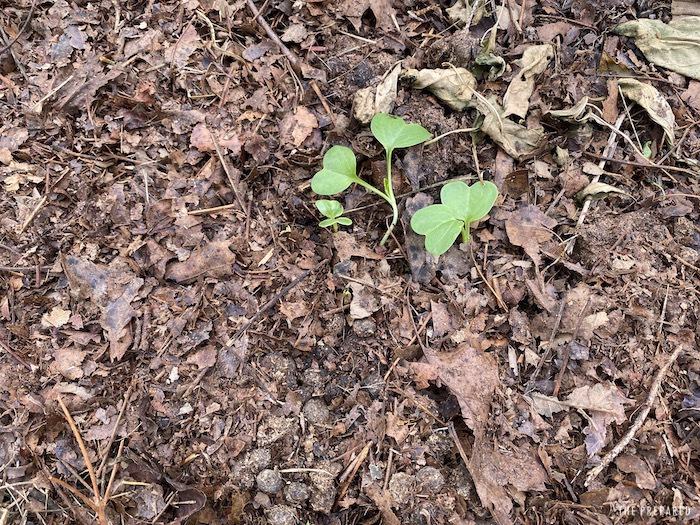
Once the leaves are shredded, apply the shredded leaves to your garden beds or compost pile. Avoid areas where you’ve planted seeds that have yet to germinate because the mulch could prevent them from sprouting. When I plant into a mulched bed I pull mulch aside, plant my seeds, and then move the mulch back around the seedlings after they germinate.
It takes a lot of leaves to make a little shredded mulch, so you’ll probably have to make several batches to cover even a single 4-by-8 foot garden bed. It’s a bit of a pain, but you’re putting those leaves to good use. Now let’s talk about putting fallen branches to good use.
Making biochar from deadwood and branches
The history of biochar dates back to 450 BC when the indigenous peoples of the Amazon Basin created rich garden beds in otherwise terrible soil by mixing in charcoal, bone, pottery shards, compost, and manure. European settlers called this rich soil terra preta, which is Portuguese for “black soil.”
Those beds are still fertile thousands of years later. The charcoal absorbs and slowly releases nutrients, which prevents leaching. Some modern gardeners have experimented with adding charcoal to their garden beds to improve them. David the Good, author of Grow Or Die: The Good Guide to Survival Gardening, successfully improved his poor, sandy soils by adding a healthy dose of biochar.
Biochar is just a fancy name for charcoal. You could just buy lump charcoal in a bag, crush it, and add it to your garden beds (make sure you buy natural lump charcoal and not briquettes, which are full of binders and other chemicals). But you can take sticks, branches, and other woody debris and burn it into biochar instead of just letting it go to waste.
There are several ways to make biochar. If you use a wood stove, it’s easy enough to make biochar while heating your home. That’s what Ben Falk recommends in The Resilient Farm and Homestead. David the Good digs large pits in the ground to burn his biochar. However, my soil is heavy silty clay and hard as a rock, so I wanted to avoid that.
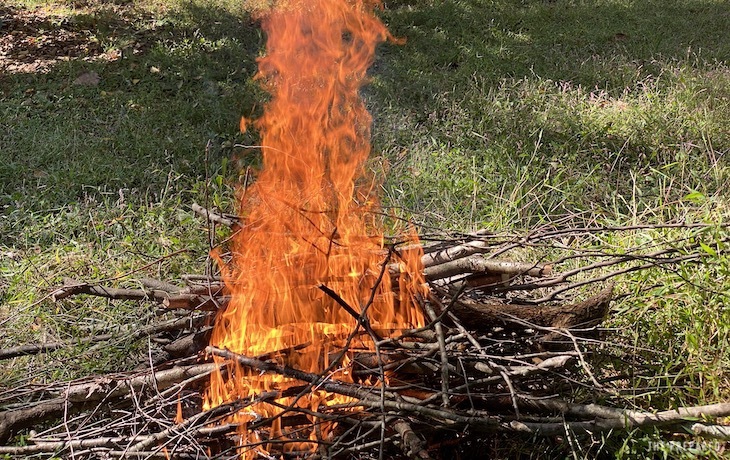
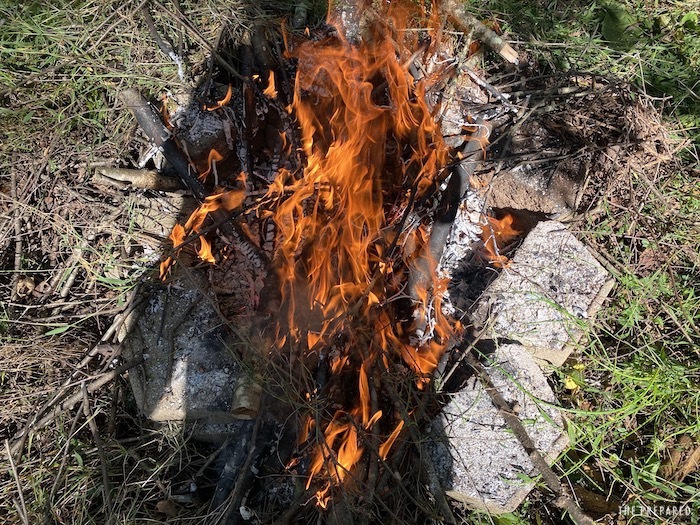
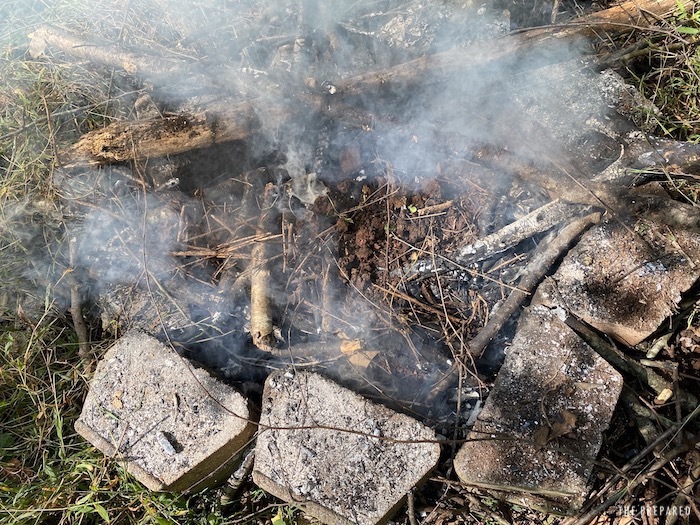
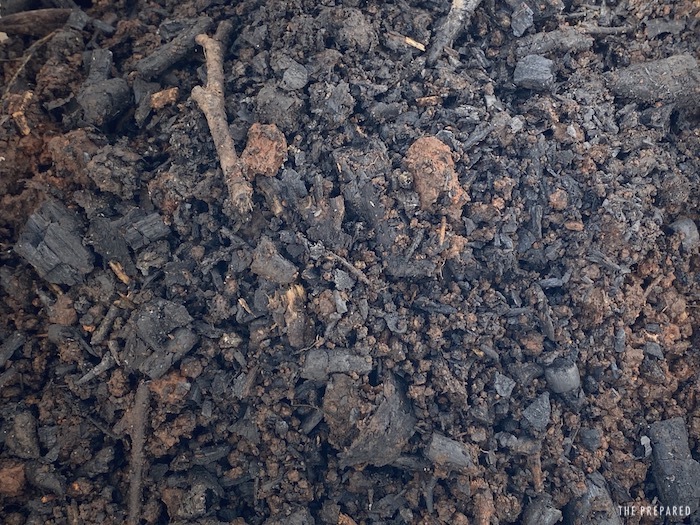
I decided to see if I could make biochar in my fire pit. I won’t claim that this is the best way to make biochar. It probably wastes a good amount of wood and the resulting biochar is mixed with dirt, which is fine for the garden but would make poor charcoal for forging or other applications. However, it is easy and low effort.
Charcoal is created when burning wood is deprived of oxygen, the same as when you make char cloth. You’ll want:
- A safe place to burn
- Water, either a five-gallon bucket or ideally, a hose
- A generous pile of woody debris. It takes a lot of wood to make a little biochar.
- A way to make fire. This is a good chance to practice your bow drill or ferro rod skills. Or if you’re short on time, use a flame weeder. You don’t want to soak your materials in gasoline or anything that you wouldn’t want in your soil.
- A pile or bucket of soil to smother the fire. You could use compost.
- A shovel
- An empty bucket
Before burning, check to see if you need a permit. Also, avoid burning on windy days because the wind could carry the embers far off and start a fire. And always have a good water source on hand to put out the fire.
The process basically goes like this:
- Gather fallen sticks, branches, deadwood, etc. You can also throw in other woody materials like corn stalks.
- Set your materials on fire and get a good fire going
- Watch carefully. You want the wood to be nice and black but not turning to ash.
- When I made biochar, I (very carefully) reached in with my shovel when the fire had burned out and broke as much of the charred material as possible. You want it to be carbonized enough so it shatters. In my fire, the broken bits fell down to the bottom and out of the fire.
- Smother the fire with the soil. You should see smoke seeping out of the soil. This smothered fire will char more material.
- Let that go for a while and then extinguish the fire with the water. Stir up the material with the shovel and add more water to make sure it’s thoroughly extinguished.
You should end up with a nice layer of fine charcoal. When it’s good and cool, scoop it into your bucket. If there’s any ash, you can save that separately as a source of potassium for your garden, but perform a soil test first to see if it actually needs it.
Charging biochar
Before you apply biochar to your garden, you have to “charge” it. Charcoal is a great absorber, and as such, it will suck the nutrients right out of your soil and leave it barren. So first, it needs to be thoroughly inoculated with nitrogen.
There are different methods to charge biochar. You could mix it into a compost pile and let it sit for months. Another way is to soak it in liquid fertilizer, like compost tea or Miracle-Gro. But I’ll tell you a simple and free way to get it charged fast.
Pee in the bucket.
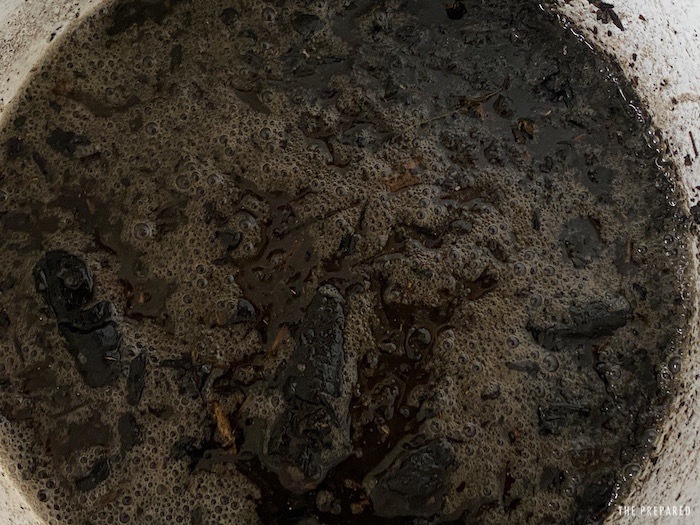
Yes, that’s right. Urine is full of nitrogen and it makes a terrific fertilizer. In fact, you need to dilute it because otherwise it can burn plants. So just pee in the bucket until the biochar is good and submerged, let it sit for a few days or even weeks to absorb those nutrients, and then apply it to your garden beds.
I just kept the bucket by my door. In the daytime, I’d bring the bucket into the bathroom whenever I had to go. At night I’d just pee directly in the bucket. It won’t stink because charcoal is great at absorbing odors.
If that grosses you out, by all means buy some Miracle-Gro, but understand that you’re paying good money for crystalized pee.
You are reporting the comment """ by on