Sanding down a cast iron pan for that “smooth as glass” finish – Awesome results!
Just a heads up, but I am very new to the world of cast iron cookware so hopefully you seasoned veterans (cast iron pun) will go easy on me. I know cast iron people are very opinionated.
– – –
Being new to cast iron, I always wanted to strive towards that “smooth as glass” finish that people seem to get. Where an egg will just slide off not leaving anything behind, but after years of working towards it I never could get it to be as non-stick as I would have liked it to be. There are some techniques that I learned about a year ago that did make a big difference like only using the smallest amount of oil and applying it to a hot pan in between cookings instead of a large amount of oil to a cold pan like I was doing, but I still knew I could get it better.
While watching some YouTube videos of Cowboy Kent Rollins, I came across a video of him talking about using actual sand paper on your cast iron to shave years of wear off of it. He says that you could get to that finish naturally in like 30 years of use, but in just a few minutes you can fast track the process and get to enjoying your pan sooner.
Looking into it further I learned that cast iron cookware is called such because the iron is cast into a mold made of sand, which is why it has that rough texture. If you look close on your pan you will understand what I am talking about and see all the grains of sand that the iron formed around. This texture however, makes for a lousy cooking surface and is why you have to apply layers of seasoning to fill in these holes and pores to get that smooth surface.

You can do this solely by hand, but a cheap $15-$20 electric sander will make it go by much more quickly. There still will be areas that the sander can’t reach that need to be buffed by hand though. I first started off with some cheap sand paper but was going through it very quickly and not much material was coming off. I then switched to my good stuff and it made a world of difference. I highly recommend 3M’s pro grade precision sand paper with Cubitron II technology. For this project or wood working, this is the best stuff that lasts extremely long.
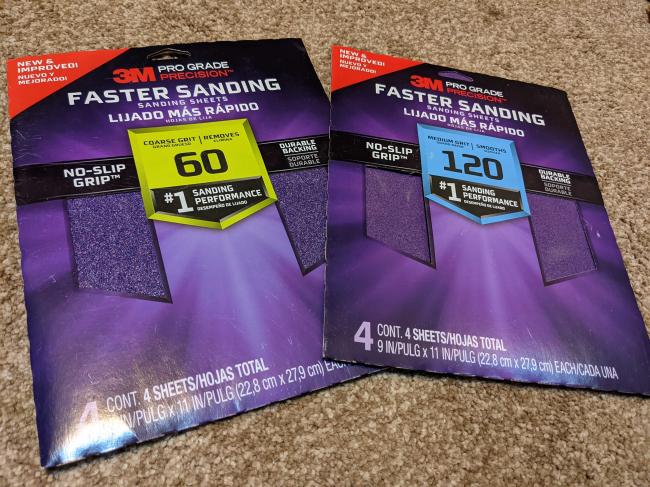
Start out with a course grit sand paper (like 60 grit) and take the bulk of the material down, buff down sharp points, and get it to more or less how you would like it to be. Then follow up with some medium grit (like 120-150 grit) to smooth things out more.
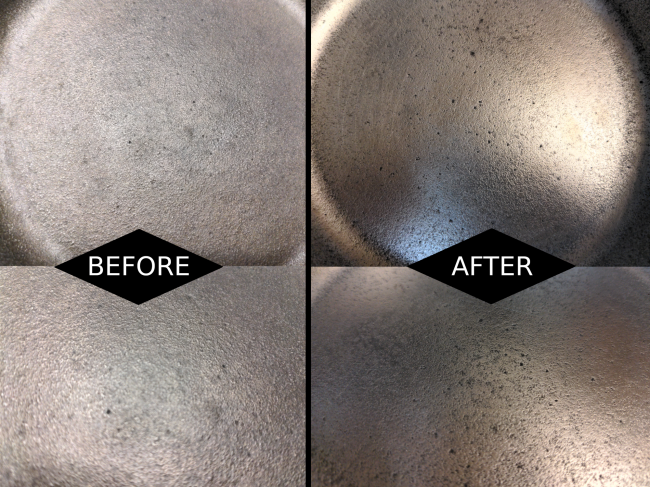
The goal here is just to knock down the high points and not to get it down to a mirror finish. There needs to be some pitting and texture for the seasoning to adhere to.
Here’s a video showing the before and after in better detail than a picture is able to do.
This will strip any existing seasoning on your pan and you will have to start it over from scratch. The bare iron that you have exposed will be very sensitive to rusting so you need to at least put on two layers of seasoning before you start using it. Do this by preheating your oven to 450–500 degrees F. Place aluminum foil on the bottom rack of the oven to catch any excess oil. Apply a very thin layer of oil on your cookware and place it upside down on the center rack. This helps prevent oil from pooling on the cooking surface. Bake for 1 hour. Take it out, let it cool down, and repeat and it is ready for use.
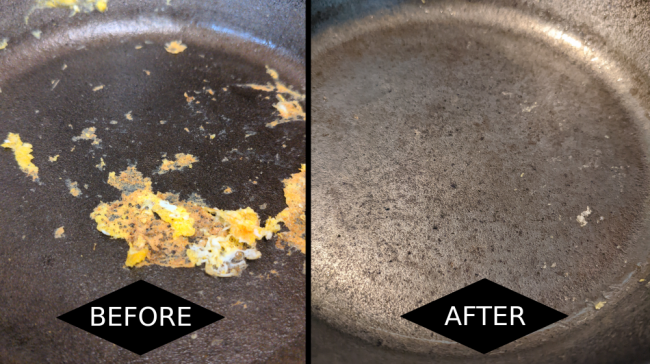
Did it work? Yes! After about a month of regular use, a good seasoning built up again and I finally got that non-stick finish that I was looking for. It is just so much nicer to cook in now. Here’s the residue that was left after cooking some eggs:
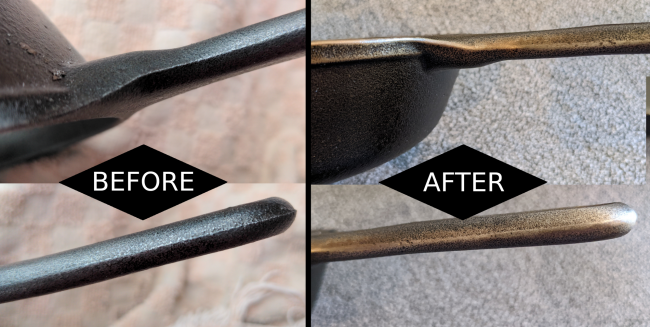
Getting that cooking surface to a non-stick finish was great but another benefit of going through this sanding process was that I was able to knock down the sharp edges of the pan and handle. I can’t stress enough how great it feels in the hand now compared to what it used to be like.
I have two more skillets and a dutch oven that I want to apply this finishing process on. This took a cheap Lodge pan and transformed it into a much higher quality pan that functions and feels significantly better.
-
Comments (5)
-