Making a free cardboard hatchet sheath
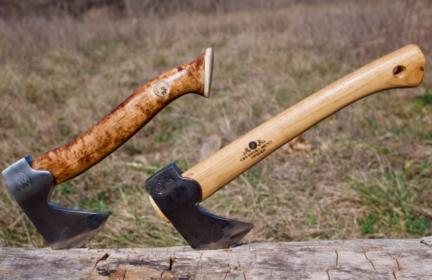
Years ago I bought a cheap 1.25 pound hatchet for $8. For how often I chop wood (which is never), it wasn’t too bad of a deal and I am a little more prepared in case I ever needed to. But the one draw back with this hatchet is that it didn’t have a sheath. And with how often I actually use this, I thought a cardboard sheath would at least keep me from accidentally cutting my fingers when I’m reaching for it in my work closet. Definitely not a long term solution for a hatchet in a bug out bag, but it will work for my needs.
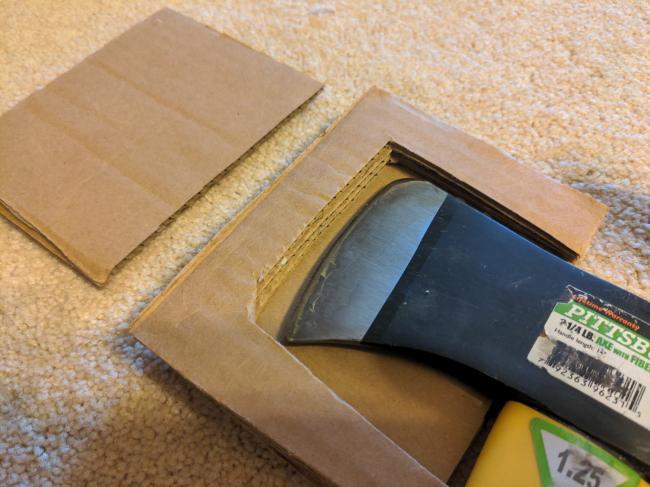
- Take any old cardboard box and measure an area slightly larger than the front of the head of the hatchet. Then cut three more, these will be the end pieces
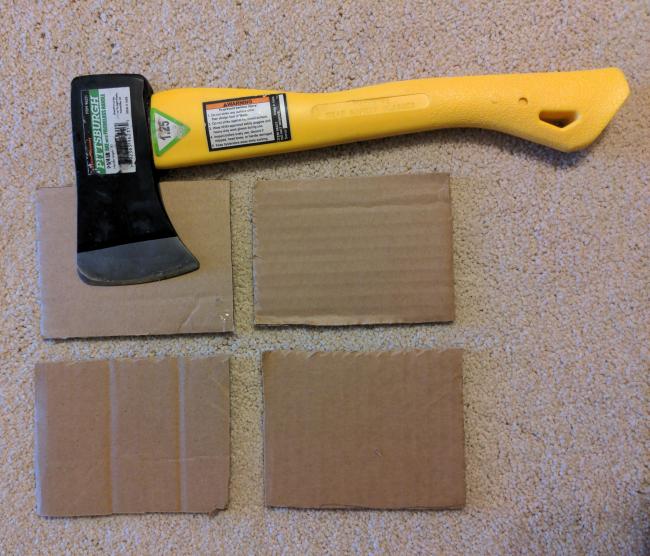
- Next, cut out some U shaped pieces that will be the inner spacers. The amount will depend on the thickness of your hatchet/axe head.
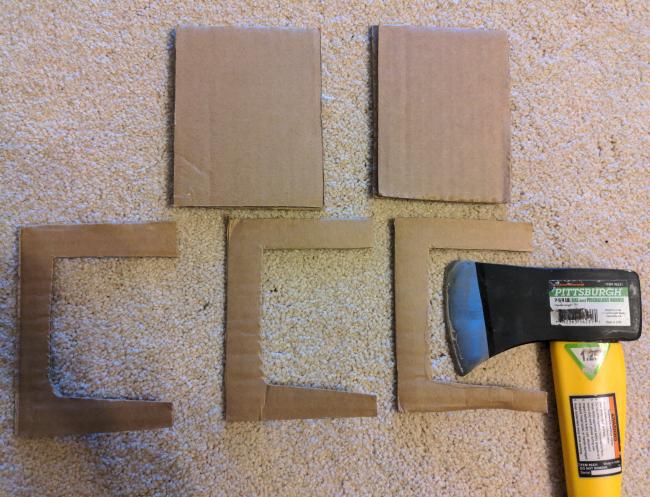
- Glue two end pieces together, then layer the U shaped pieces and glue them together. I just used Elmers glue. This will form the little cavity where your hatchet head will sit.
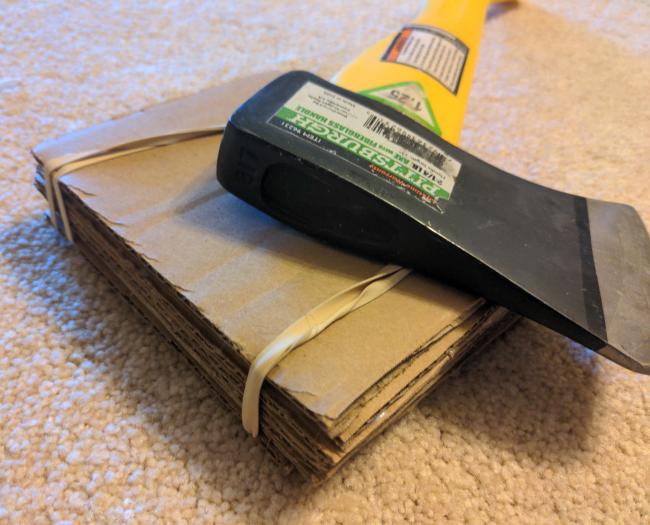
- Finally glue on your last two end pieces. I used the weight of the hatchet head or rubber bands to hold things together and have pressure between steps so it could dry.
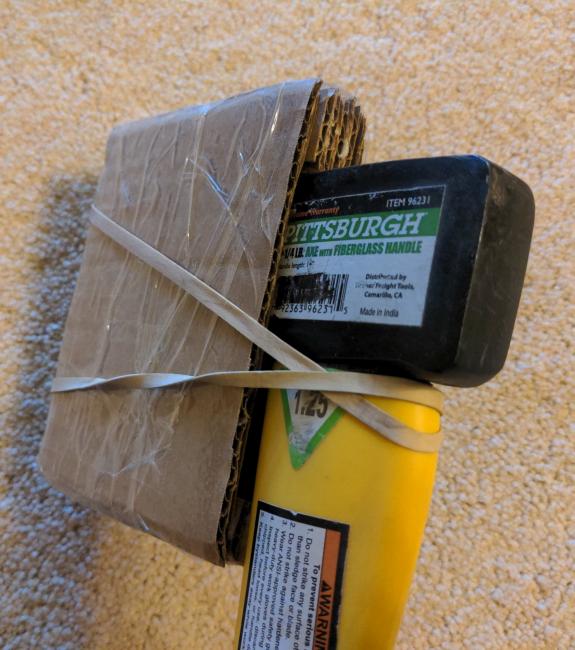
- What you are left with is a little box that fits the hatchet head perfectly.

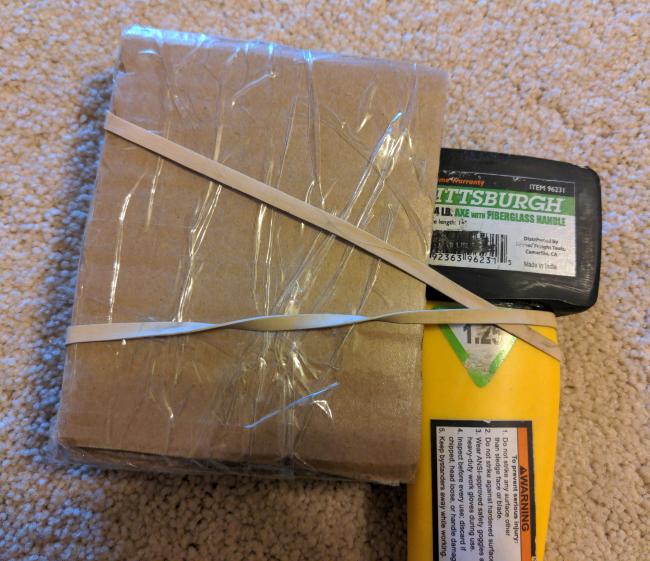
- I wrapped the outside with packing tape to hold it all together, add durability, and a slight amount of water resistance. Really junky looking… I know, but it works and was free.
0
Log in or register to join the conversation
-
No Comments