Update 07/2022: The Sawyer bucket kit is no longer sold publicly and you need to contact Sawyer directly to purchase one.
The $125-140 Sawyer SP191 Point ZeroTwo Bucket Kit is a unique product that sits somewhere between portable water filters and home countertop water filters. The kit combines what would normally be a standalone portable filter with the hoses and attachments you need to create a sort of DIY countertop gravity system. All you need to add is a cheap plastic bucket and another container to catch the clean water.
Here’s what you need to know:
- This is a good option if you want something like a Berkey filter but without the Berkey price.
- Sawyer is a well-established and popular company. We feel confident that their products do what they say on the box.
- The filter will handle basically any bacterial or viral threat you may face — but it does not remove chemicals (like pesticides) the way more expensive countertop filters can.
- The filter will last a very long time (likely longer than you would in an emergency), provided you take care of it.
- The kit includes all of the parts you need, except for the bucket, including thoughtful touches like an elevated holder wire and a spout protector to keep the hose from crimping.
- Instructions could be better, but setup isn’t that complicated.
- There’s no control valve on the hose/filter, so things might get a little wet in your working area.
How does the Point ZeroTwo compare and where does it fit?
You could buy a pre-made portable gravity kit such as the HydroBlu Go Flow (~$45). And/or you could buy a countertop gravity kit like the popular Big Berkey ($250 or more). So where does the Point ZeroTwo Bucket Kit fit in?
If you’re thinking more about a portable kit (eg. for a go-bag) that can handle larger volumes of water, there isn’t much about the SP191 that justifies paying 2-3x more than other options on the market. The Go Flow kit, for example, gives you essentially the same setup: a large container to hold dirty water, a hose, and a filter that uses gravity to pull water from the bag, through the filter, and out the clean end. Frankly, kits like the Go Flow are better than the SP191 because they can actually pack down to a more portable size.
The real sweet spot for the SP191 is as a DIY alternative to the 2-3x more expensive “proper” countertop models like the Berkey. The Berkey and its competitors use nice metal bodies instead of buckets or bags. Larger (and more fragile) filters sit between the top container and the bottom one, using gravity to pull water through.
So it’s all the same concept — it’s just a matter of how rigid and portable the containers and filters are. The Berkeys use a stainless metal container. The SP191 uses any ol’ plastic bucket.
Most people with proper countertop filters use the filter in everyday life (many of our staff do this). If you’re thinking more “I just want this around in case of an emergency”, then the much cheaper SP191 might be the way to go because you can keep it stored until the day comes you need to set up a large-volume gravity system.
Another benefit over the countertop filters is that you can be more creative with how you put the system together. You could have a hook outside your home to hold a bucket that catches rainwater, for example, with the filter tube draining into a larger barrel for long-term storage. There’s no way to do that with the more expensive systems.
Filtration
The box includes a number of things, but let’s take a minute to focus on the filter itself. The filters used in proper countertop products are relatively large and fragile, sometimes even chalky, such as the AquaMetix filters I bought for reviewing St. Paul Mercantile’s filtration system. That’s okay when they sit inside of a rigid container without ever moving.
The Sawyer filter, like the rest of their filtration products, is in a handheld durable container that you wouldn’t think twice about tossing in a bag.
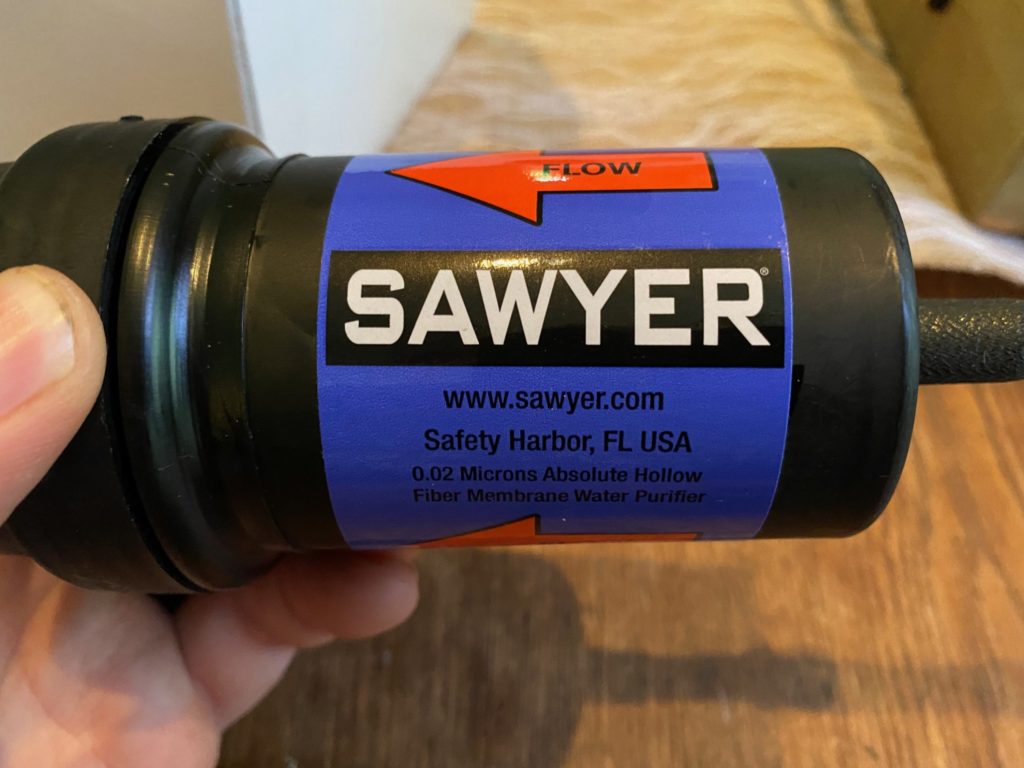
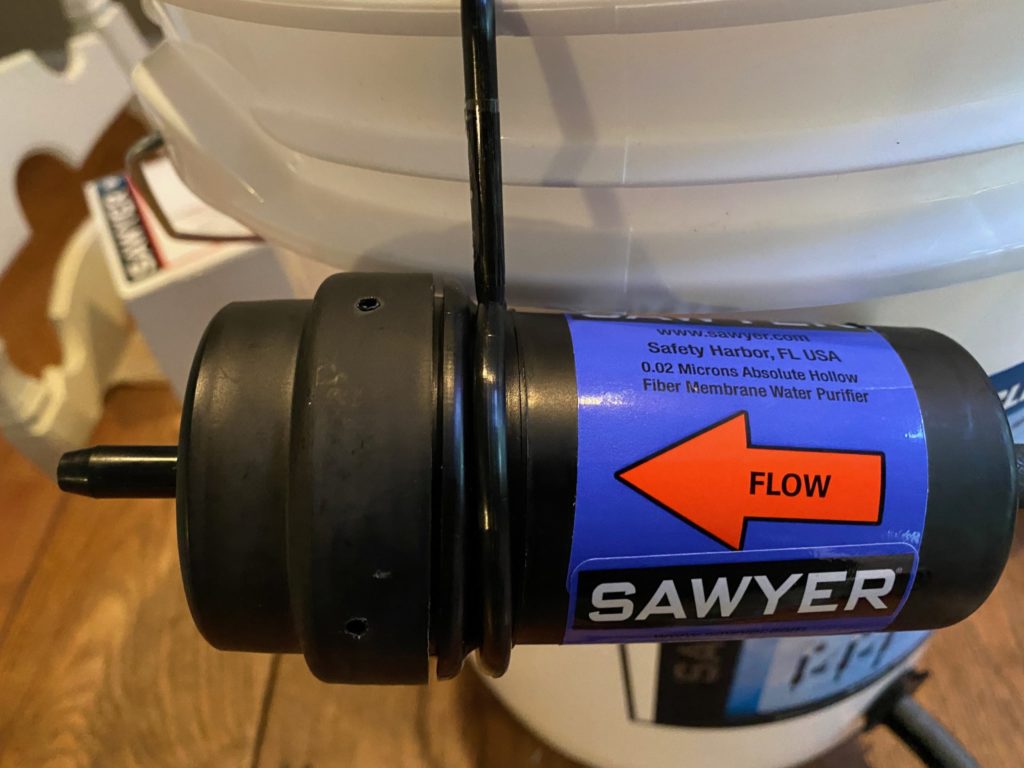
Another helpful feature right off the bat—the outside label on the Sawyer filter clearly indicates the direction of water flow (which might be the only clear instruction in the entire package). This is important not only for filtering but for cleaning the filter.
The filter can handle up to 170 gallons per day and can be used almost indefinitely as long as you regularly backwash it with the included syringe or faucet adapter.
The Sawyer filter is called the Point ZeroTwo, because, well, it’s a 0.02-micron filter. Sawyer claims the filter removes all harmful bacteria and up to 99.997% of viruses.
What’s the catch? There is one big downside: the Sawyer filter does not remove chemicals. Sawyer specifically states that the filter will catch only small amounts of pesticides and other toxins. Farm runoff, industrial waste, pharmaceuticals, and other contaminants might be a major concern for you. Sawyer’s own FAQ owns up to this weakness:
The Sawyer filters are not made with charcoal. While other portable filters have charcoal, they lack in amount of media and adequate dwell time. Therefore, they only remove small amounts of heavy metals, pesticides, etc. (when used in real life applications). Try using better sources of water, if possible.
I get why they didn’t put charcoal in the filter since it would limit the filter’s lifespan, but I wish I could buy disposable filters to add in-line to do that job.
Does the lack of chemical protection actually matter? From an emergency perspective, not so much — your biggest worries are usually bacteria and viruses. This mostly matters if you want to use the kit for everyday water and care about removing toxins like arsenic or additives like fluoride from your drinking water. When I tested this kit from my home tap, for example, I could still taste the chlorine added by the city.
Theoretically, if you were in a long-term SHTF situation and this was your main water source, then the lack of chemical protection might build up over time.
Let’s talk buckets
To make the system work, you don’t need a bucket per se, but the Sawyer filter is kind of designed around bucket storage. You definitely don’t want any buckets that have been storing hazardous chemicals. Ideally, you want a fresh food-safe bucket.
The easiest and cheapest source of food-safe buckets I have found, at least in the United States, is Tractor Supply. Their basic $3.49 white buckets are food safe and should work fine for this job. As a plus, they offer curbside pickup and same-day delivery so you don’t have to go into the store.
Demystifying some very confusing instructions
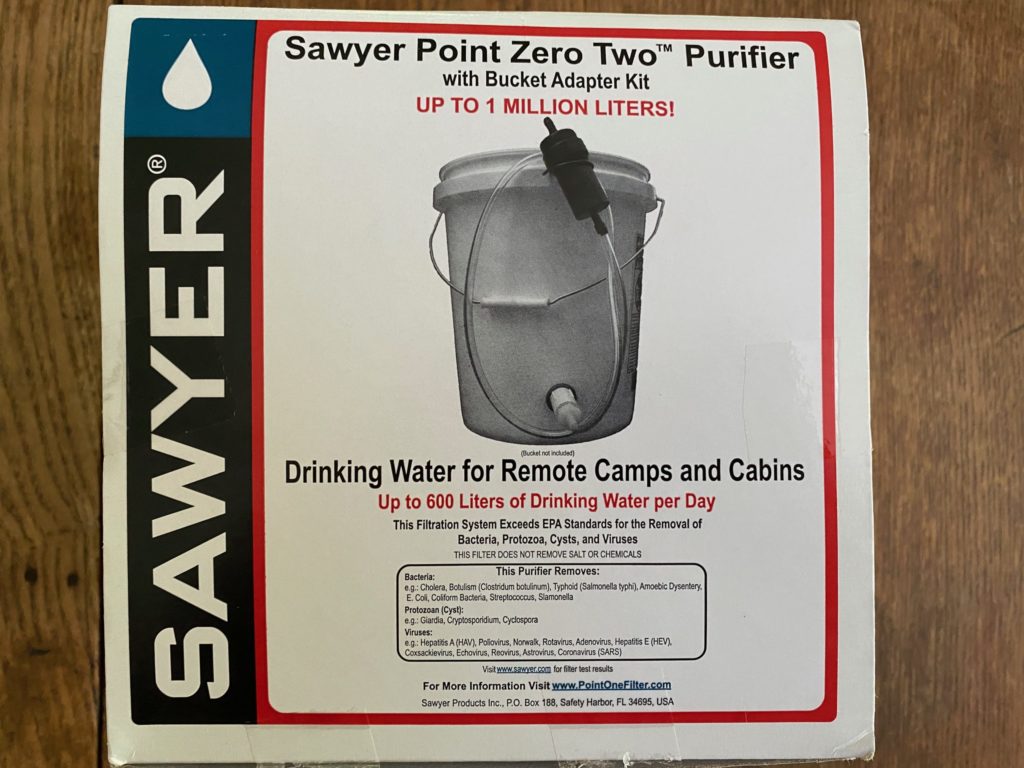
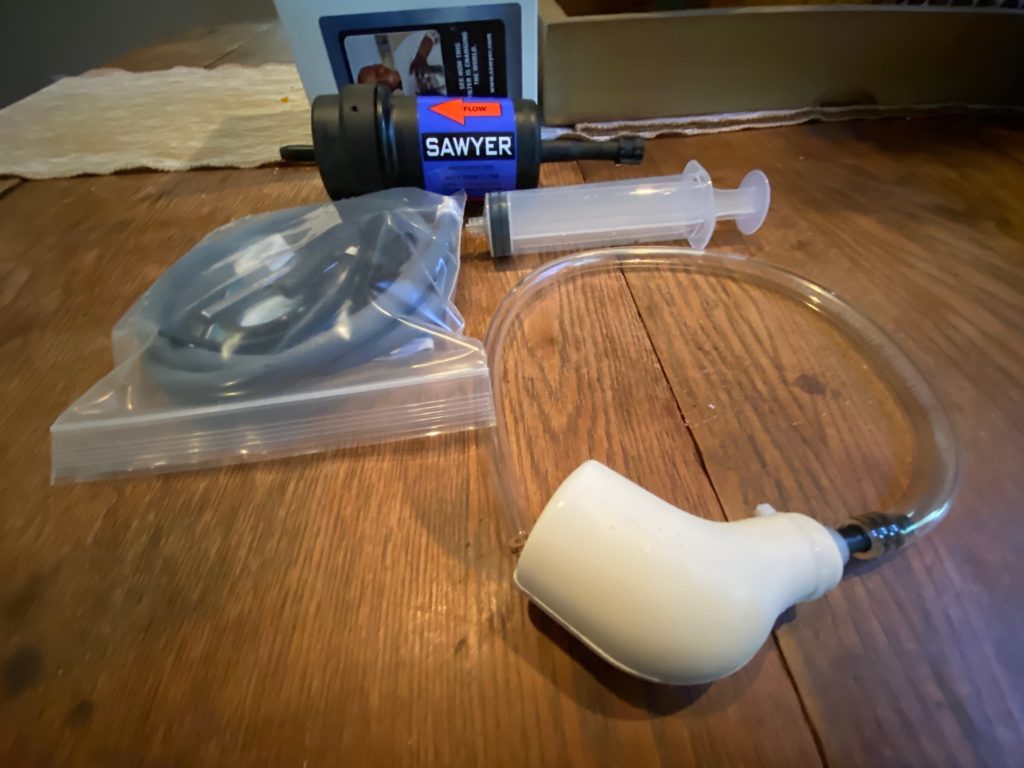
In the box, you get a bunch of hoses, connectors, a syringe, the filter itself, and other stuff. Along with that, you get some vague instructions and a picture on the box that doesn’t quite resemble what you have before you. The included instructions are vague. They don’t even list all of the included parts. Thankfully, it’s not too complicated. I’ll try to walk you through it.
First of all, take the white squeezy thing with the tube and set it aside. That’s the faucet adapter, which we’ll get to in a bit. Also set aside the syringe, which is used for cleaning the filter. We don’t need that yet.
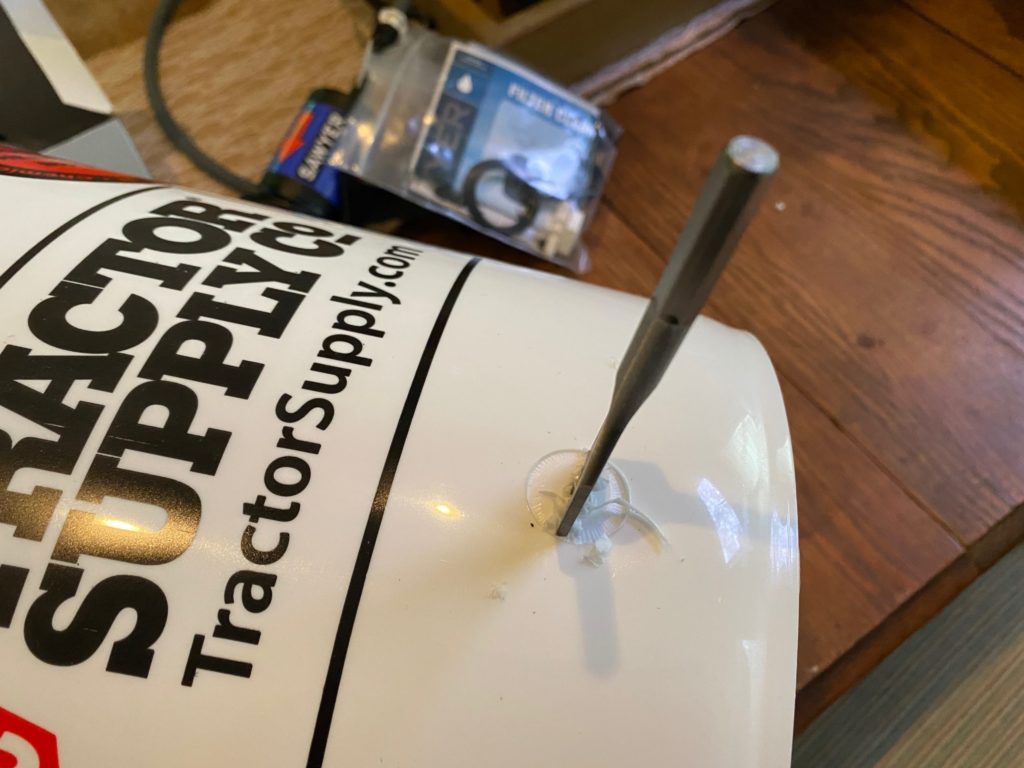
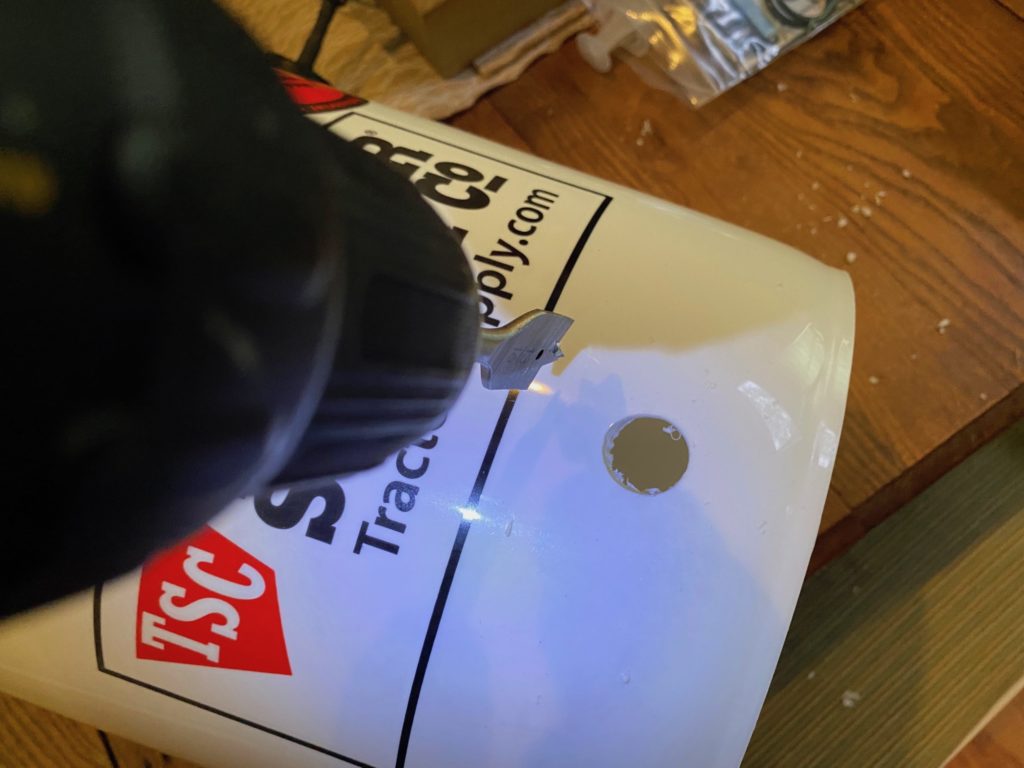
Let’s focus on the bucket. You need to use the included 13/16 paddle bit to put a hole in the side of the bucket, about 1.5 inches from the bottom. That way, sediment settles in the bottom of the bucket without unnecessarily clogging up your filter. The instructions say you can do this by hand.
However, I got about halfway through cutting the hole by hand when I gave up and got the drill, which finished the hole in a split second.
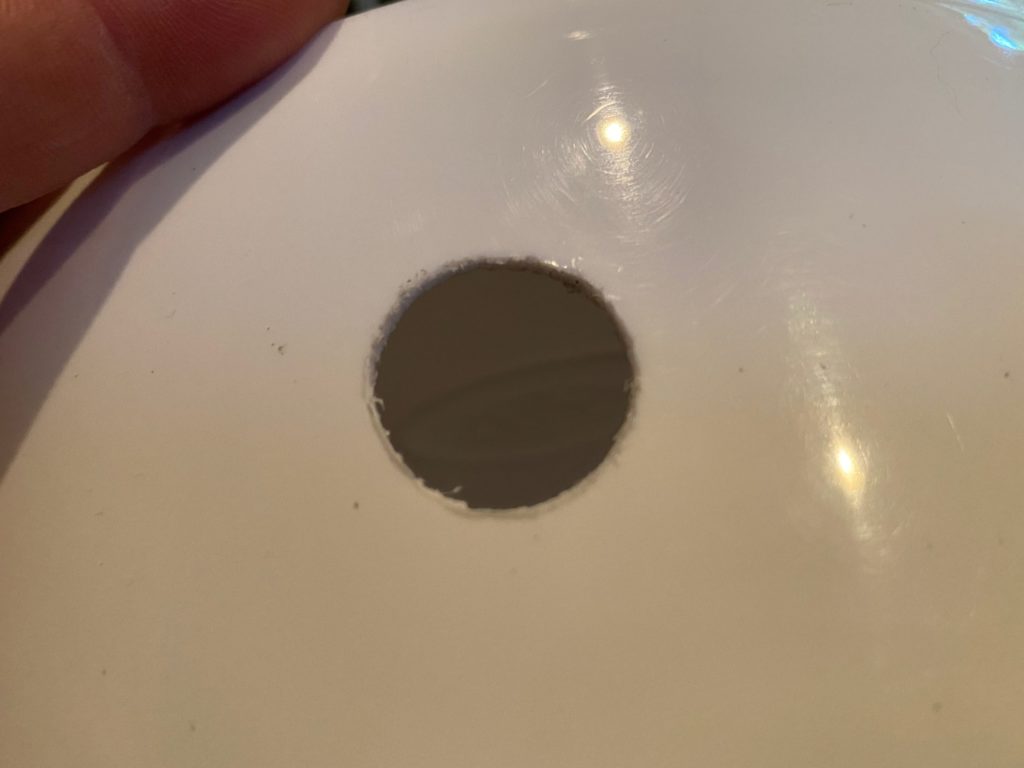
Next, you want to smooth the burrs in the hole to get the best possible seal. I used the knife and file of my Leatherman Wave to produce results that can best be described as “good enough.” A round file or a rotary tool might do a better job, but I haven’t noticed any leaks.
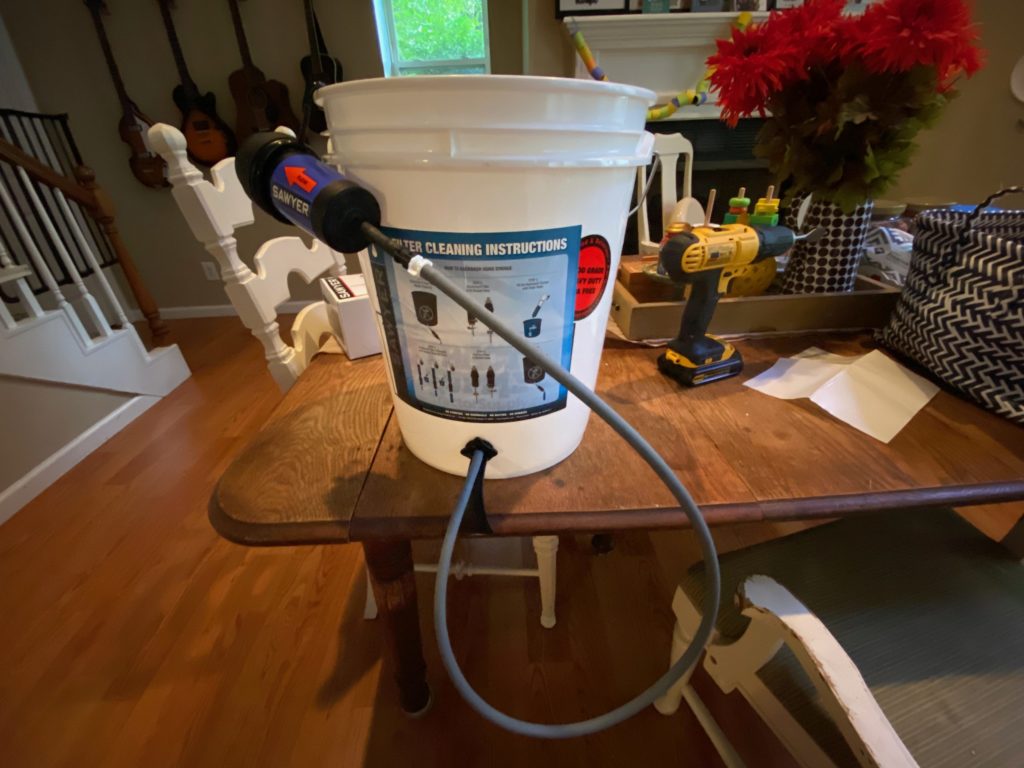
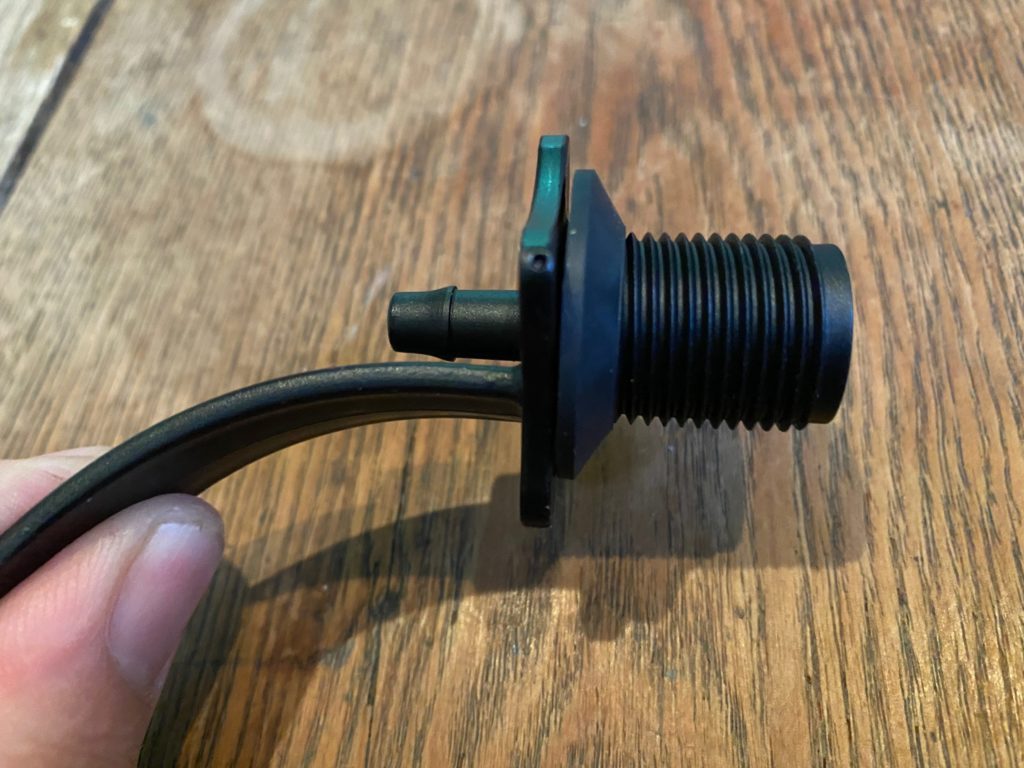
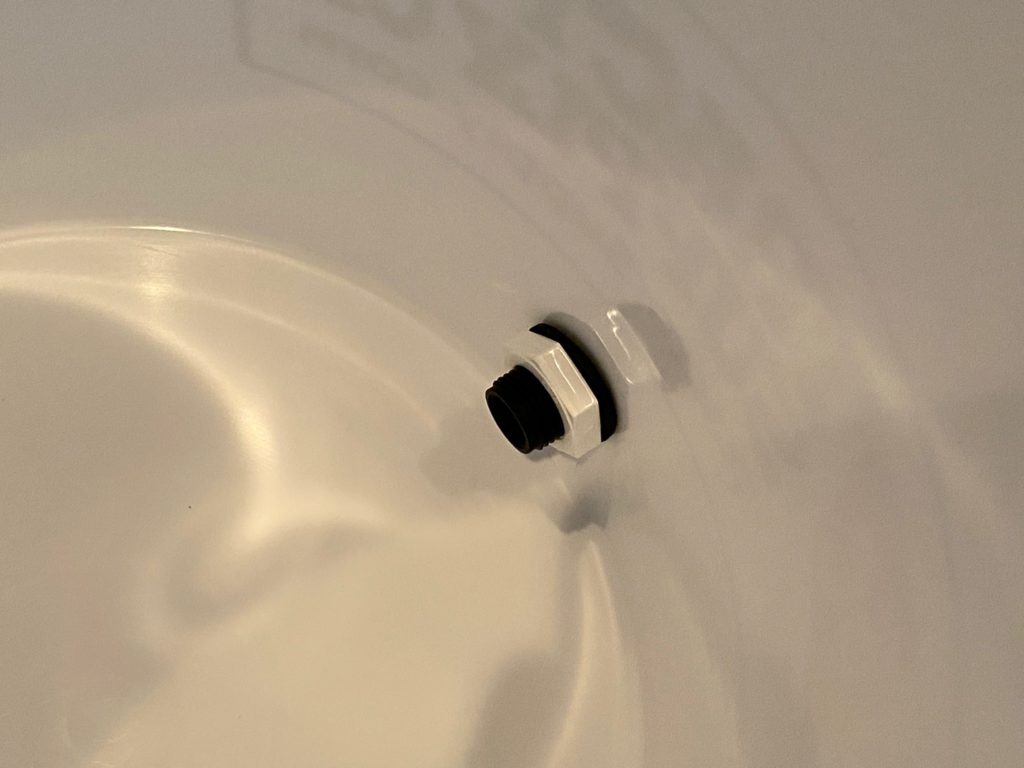
Next, you want to find the black threaded doo-dad with a handle (instructions refer to this as the ‘male adapter’) and slip on one of the included rubber washers so that the narrow end sticks out (instructions call this the ‘female adapter’). For the sake of sanity, we’ll call that doo-dad the spigot. The threaded bit will go into your new bucket hole and the narrow end of the rubber washer will sit up against the hole to prevent leaks.
Stick the spigot in the hole, then put a rubber washer on the threaded end inside the bucket, again with the narrow end facing toward the hole. Then screw on the white plastic washer.
Here’s a trick I learned from my experience with the St. Paul Mercantile filters: keep the spigot at a 9 o’clock position, tighten the nut as tight as you can by hand, and then hold the nut as you twist the spigot into the 12 o’clock position. I find the black handle to be useful for this. I kept it angled downward because I’m guessing the purpose of it is to direct water down if the hose is detached.
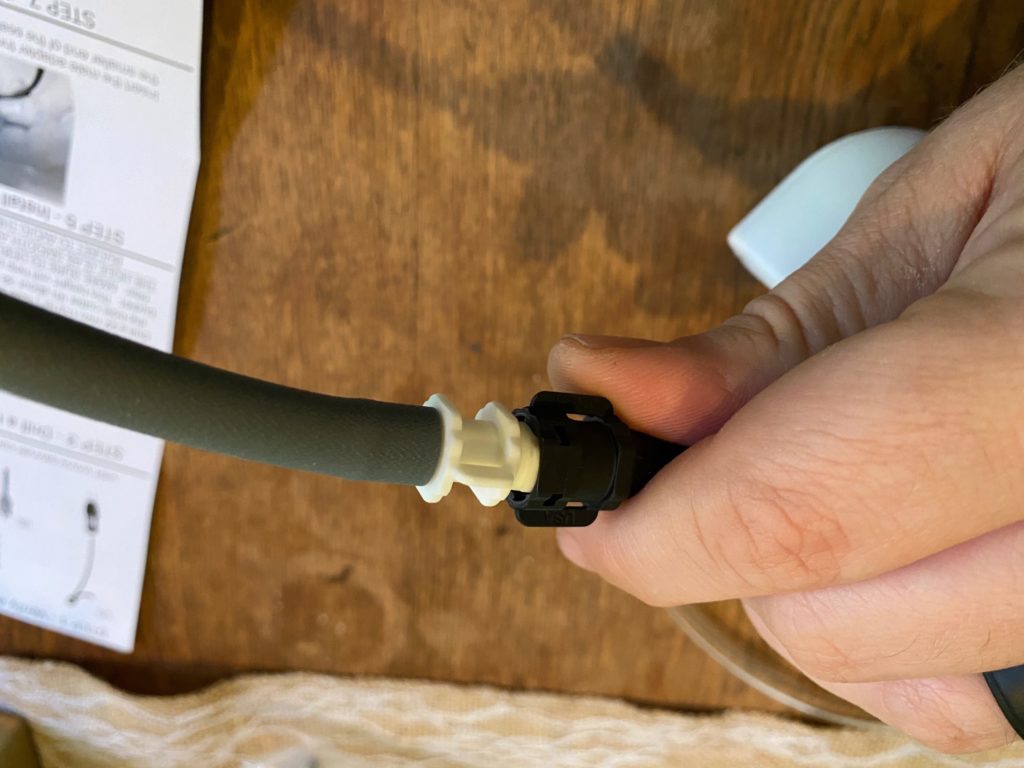
Ah yes, the hose! One end should be open—you push that onto the spigot nozzle. The other end should have a white coupler attached. If not, shove one on, and that white coupler will attach to the filter inlet hose with a twist.
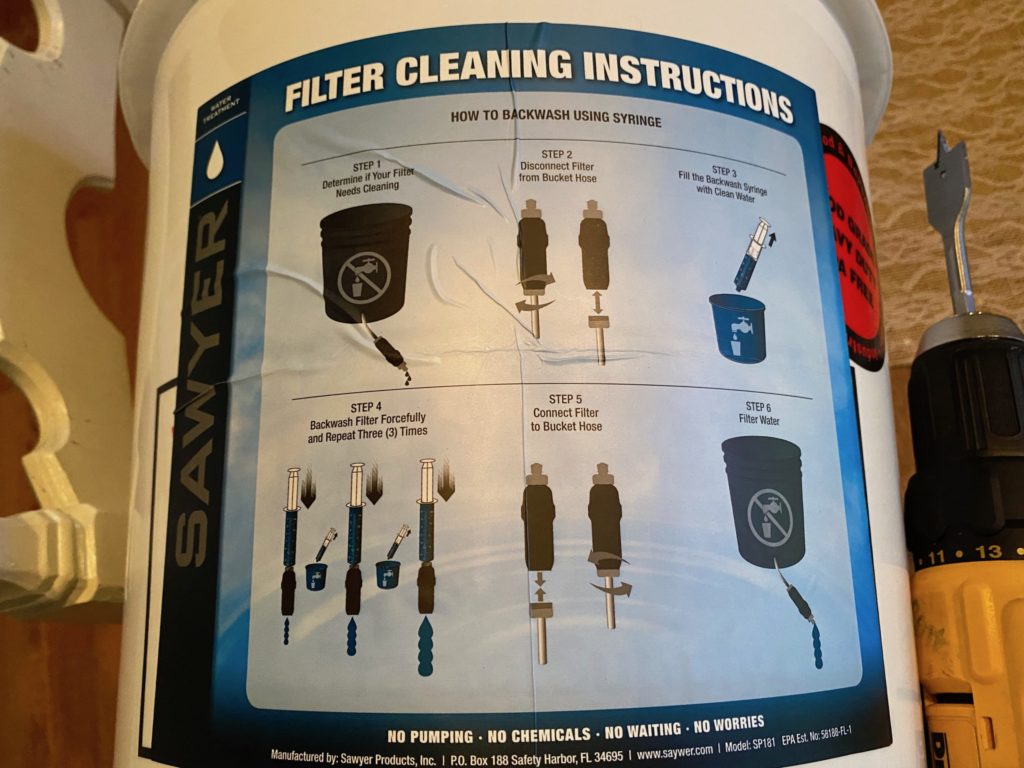
Finally, there is a big sticker included with instructions for cleaning the filter. I stuck this on the side of the bucket. Well, as best as I could.
Finally, there are a couple of little plastic hooks included. These are important! There is no valve on the Sawyer filter to stop the flow of water. So when you want the water to stop filtering, you must raise the filter and hang it off the top of the bucket.
Open the round end of the hook and put it over the filter so that it rests just under the dispenser lip, then hook it to the lip of the barrel.
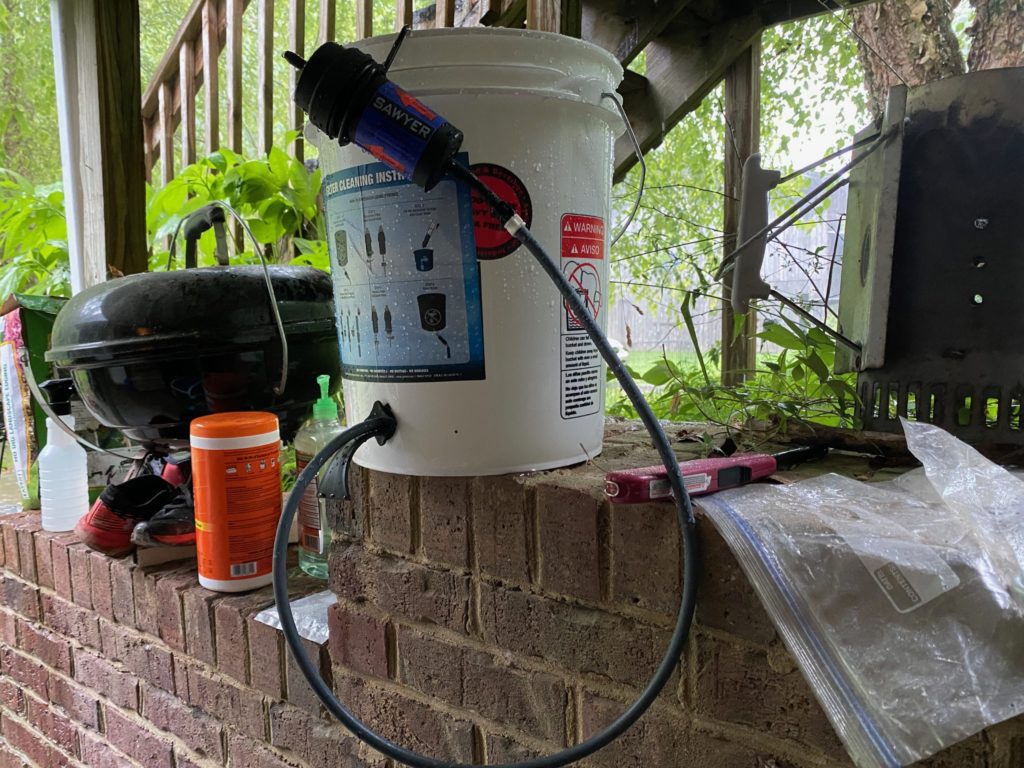
Here’s how the whole thing looks when assembled:
Testing
I wanted to fill this puppy up and give it a go, but since the Sawyer doesn’t filter chemicals, I wasn’t excited about using any old water source to give it a try. No one knows what chemicals run through the creek near my house!
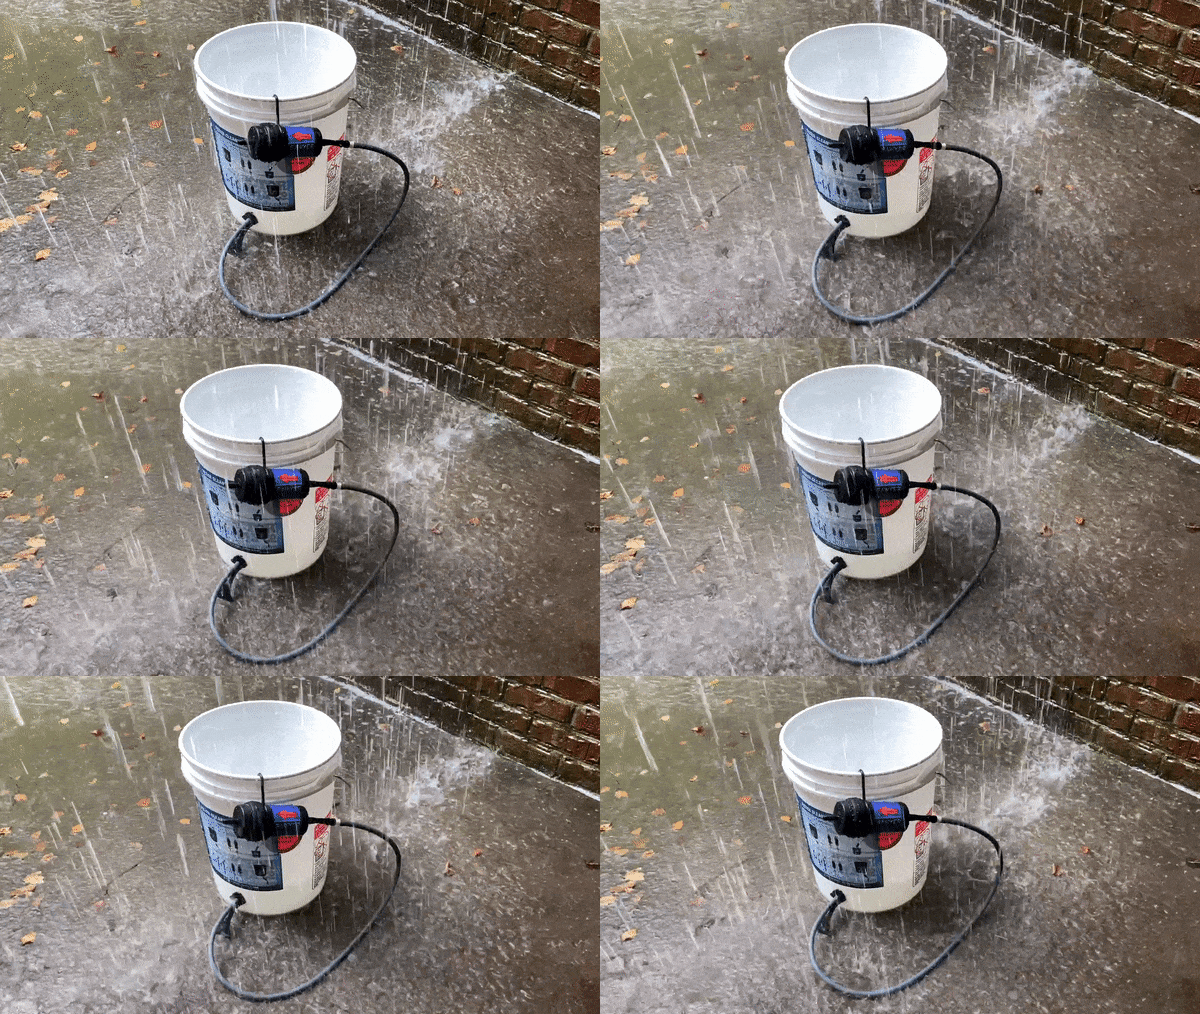
Fortunately, I got the filter together just before a massive downpour. I sat the bucket under a gutter that tends to overflow and let ‘er rip.
(Quick note: modern roof shingles tend to have a lot of nasty chemicals in them, which this product would not filter. This gutter is attached to a wooden deck.)
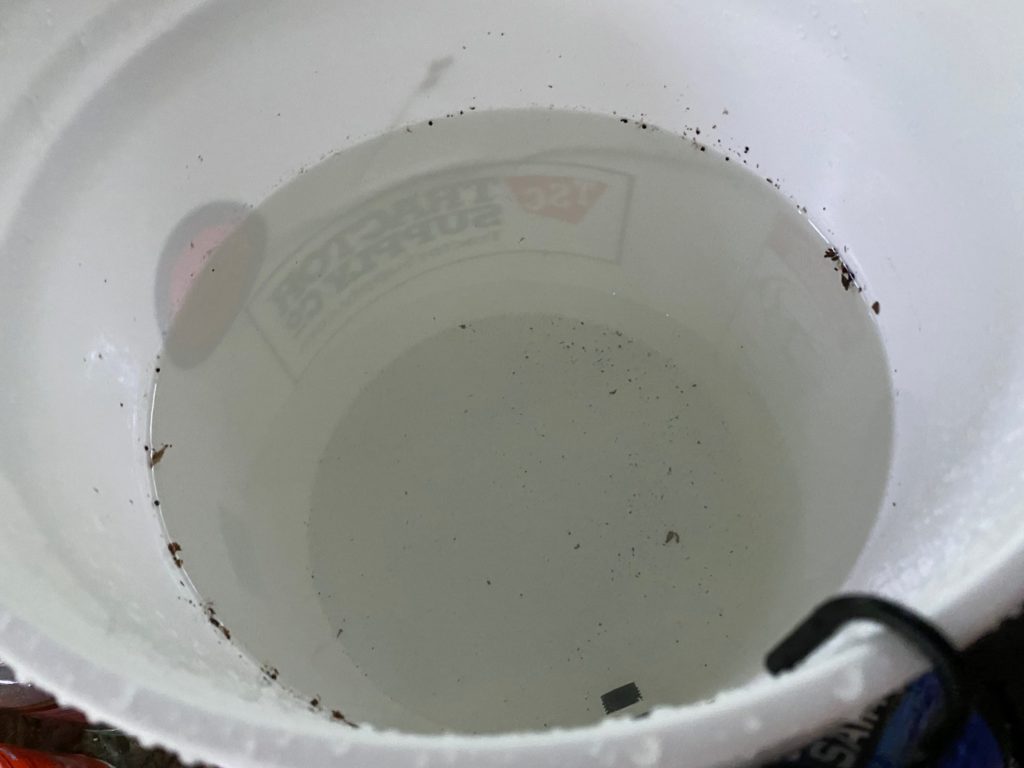
It didn’t take long at all to fill the bucket with yummy rainwater.
I sat the bucket on top of our brick retaining wall to give it some elevation. You’ll want to place or hang this bucket as high up as you can. Make gravity work for you! The hose is rather long, so hanging it in a tree would probably be ideal.
Getting water from the bucket is awkward. You need to extend the hose straight down as much as possible and let gravity do its work.
The filter is also pretty slow, which isn’t entirely unexpected. It took over 2.5 minutes to fill a 16.9 fluid-ounce water bottle.
It’s also messy, due to the lack of a valve. Between removing the filter from the receptacle and hanging it back on the bucket, you’re going to spill some water. This is a system best kept outdoors.
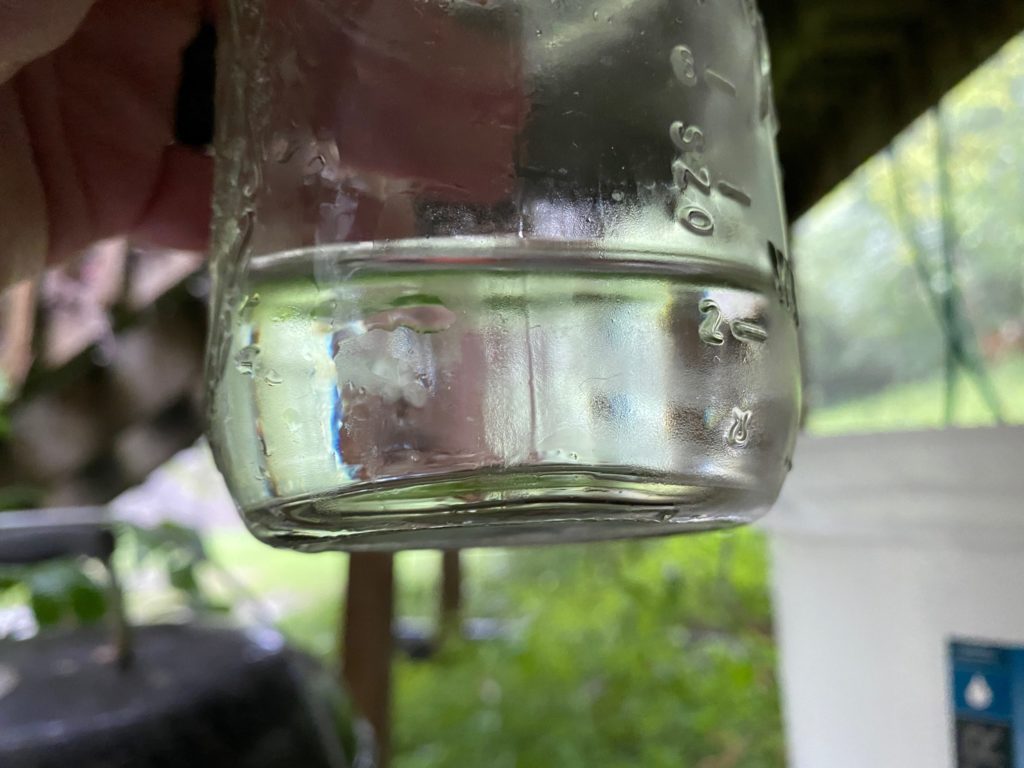
However, the water produced by the filter is clean. It very much tastes “filtered,” and I’ve drank quite a bit without getting sick, even after letting the bucket sit outside a few days to collect more of nature’s bounty.
The faucet adapter
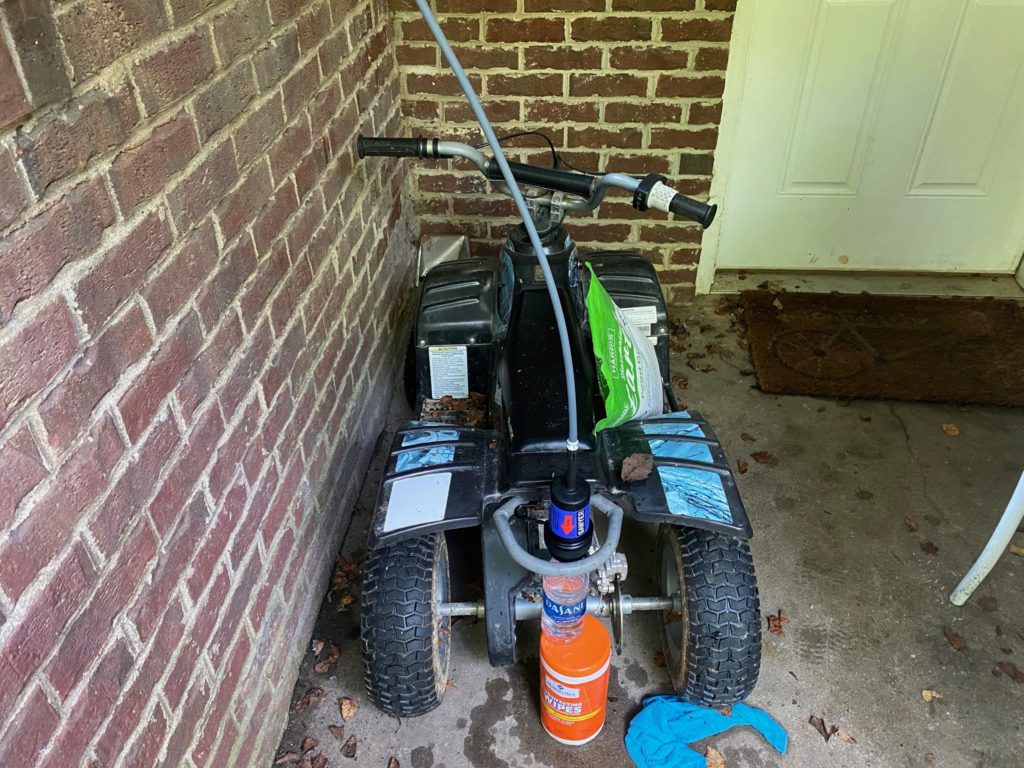
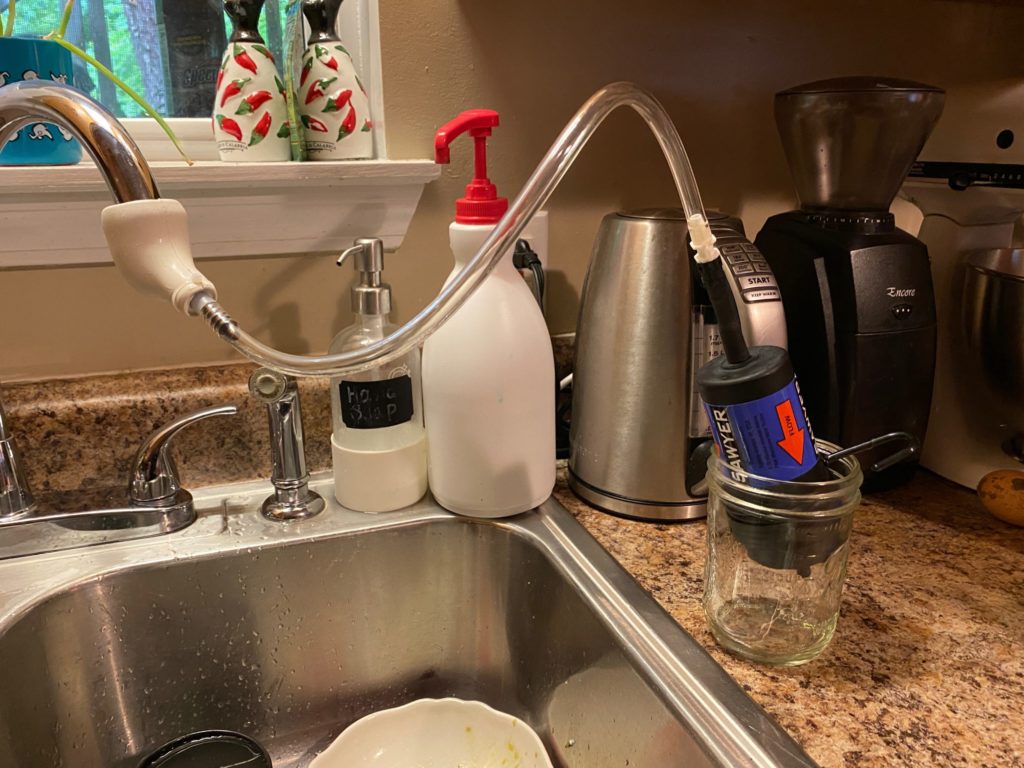
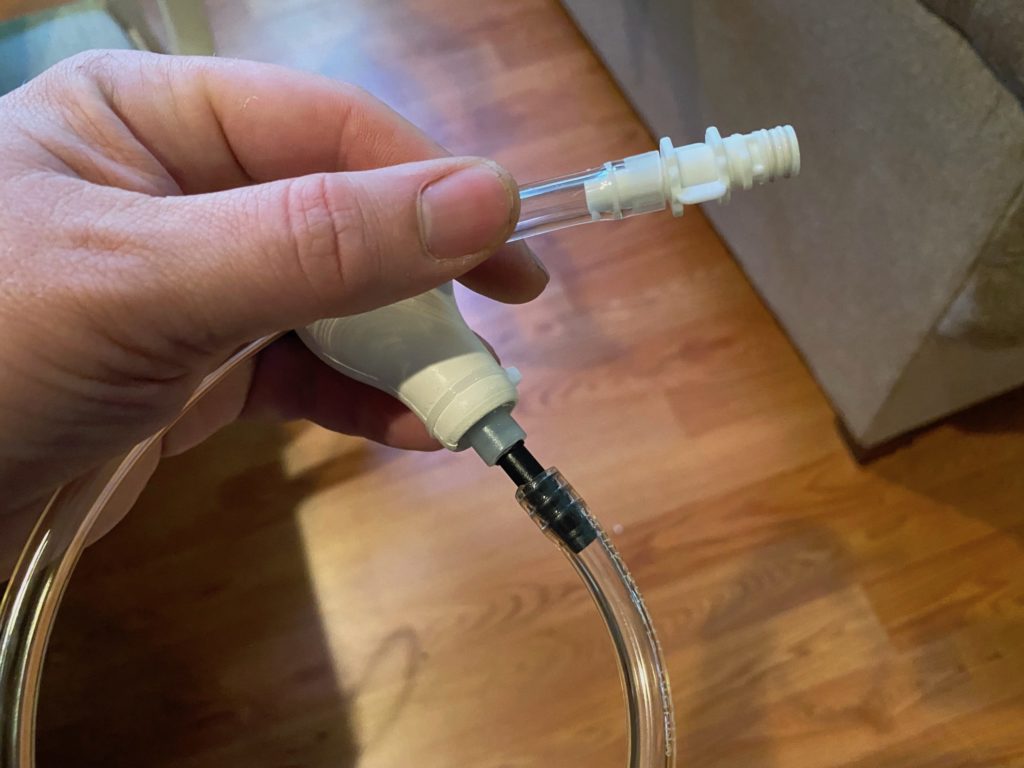
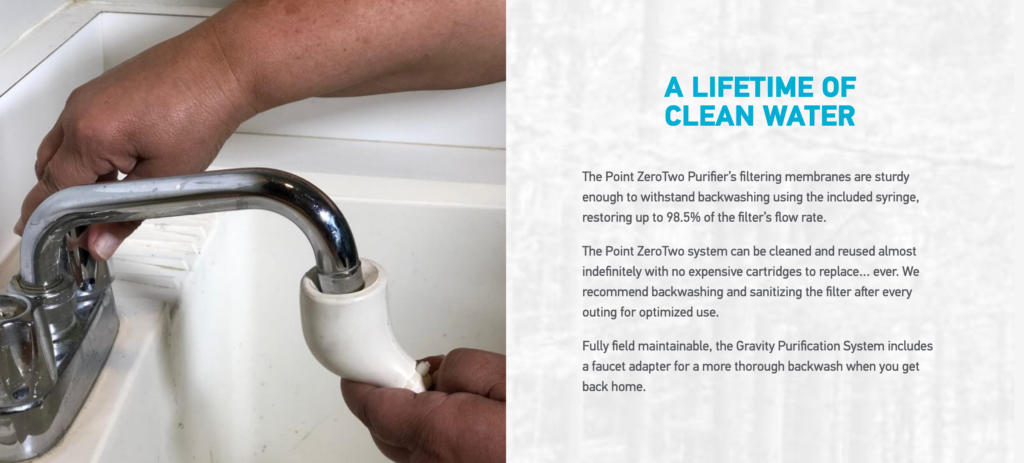
The Sawyer PointZeroTwo filter can also attach to a faucet with the included adapter, which looks like the business end of a tobacco pipe, only made out of squishy rubber.
There are two of the white couplers included, and I attached the second one to the end of the clear hose that came pre-attached to the faucet adapter. Then it simply twists into place on the filter.
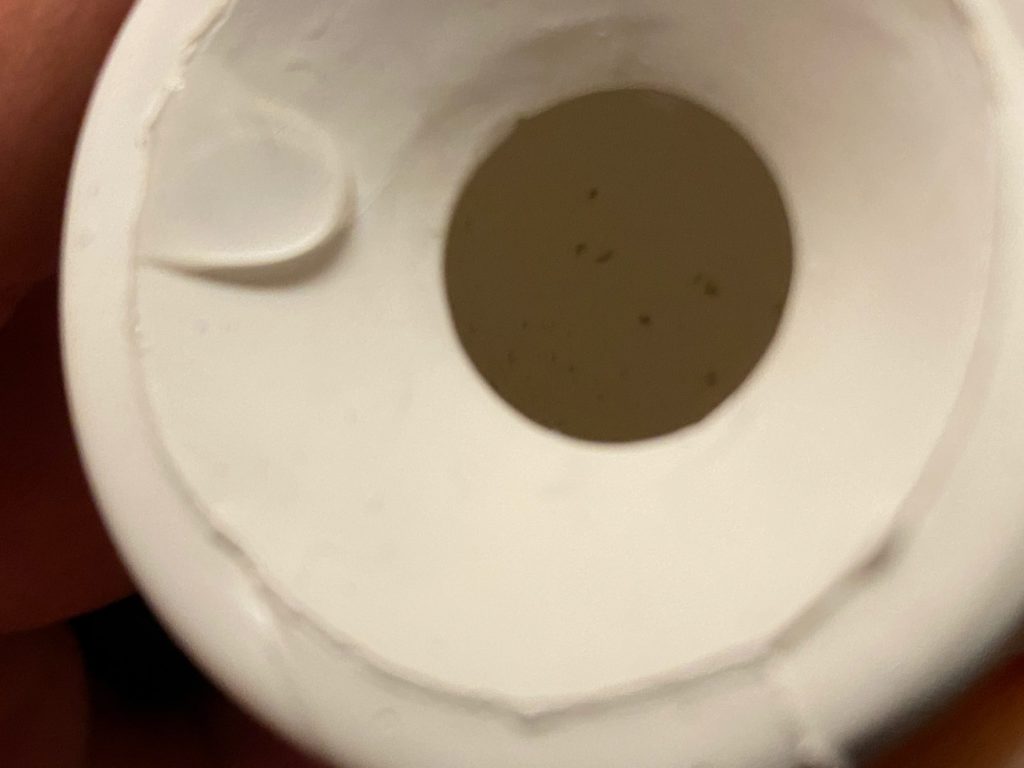
One thing that bothered me were these little specks I noticed inside the faucet adapter. I reached out to Sawyer, and their people said that static electricity can cause plastic particles to cling to the rubber. Those plastic particles will eventually flush out. But in any case, the filter will catch them before they get to your drinking water.
The adapter slips on with a bit of brute force. Just barely turn your faucet on, no more than a bare trickle. In my testing, anything more than that causes the adapter to pop off in a rather dramatic explosion of water.
My first assumption was that the primary purpose of this adapter was to filter tap water, but after perusing the Sawyer website, it seems the real purpose is to clean the filter. But what’s cool about this system is that it’s flexible enough to filter water or clean the filter. Sawyer informed me that yes, it’s good for both.
Cleaning the filter
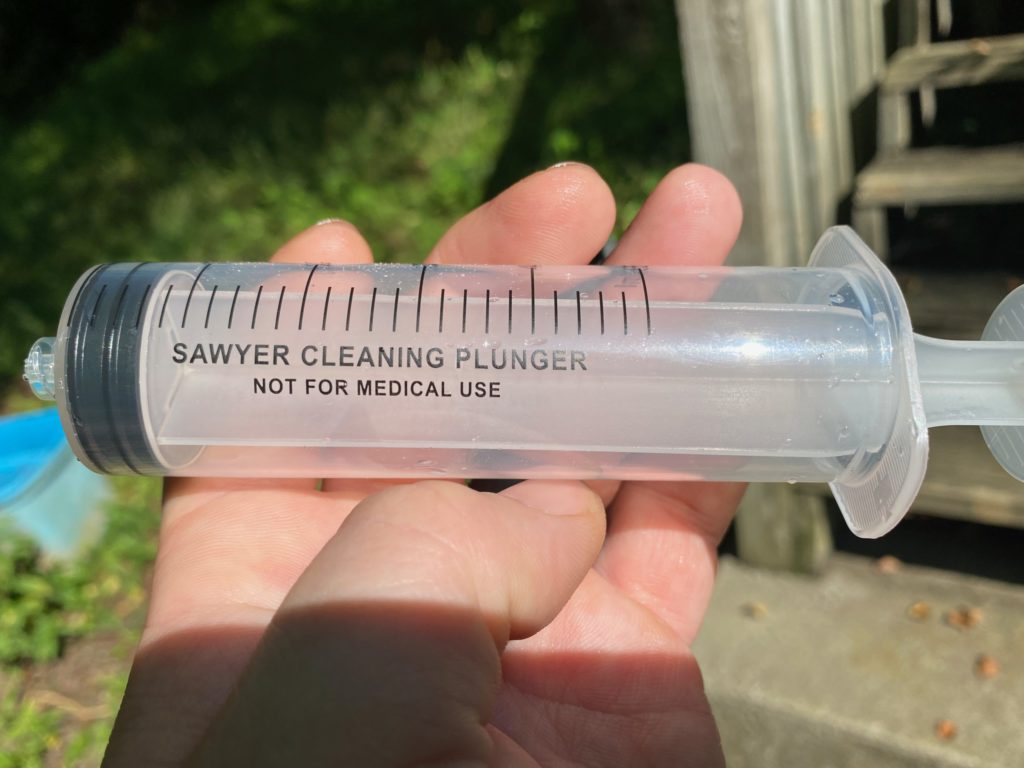
The Sawyer filter is easy to clean: you just force clean water through it in reverse (called “backflushing”). The most thorough way to do it is to use the faucet adapter, but Sawyer includes a 50 ml syringe so you can clean it in the field. You’ll want to do so when the flow rate slows to a trickle.
In a pinch, you could use the syringe in your first-aid kit to clean the filter as well.
Unsurprisingly, this is a messy process. The syringe doesn’t mate perfectly to the filter’s tip, so water tends to shoot out the sides as you force the plunger down.
The bottom line
If you’re a frequent traveler or would like a portable backup water filter, the Sawyer SP191 Point ZeroTwo Bucket Kit might be a worthwhile investment. But if you’re looking at a primary filter for home use, you’re better off with a gravity-fed system from a Berkey, Alexapure, or St. Paul Mercantile. That’s especially true if you might be dealing with really dirty sources or chemical contamination. If you’re traveling to a place where such contamination is a concern, you might be better off buying one or more of one of those filters and sourcing the buckets at your destination. The Sawyer filter works best with relatively clean water sources that might have normal biological contamination.
You are reporting the comment """ by on